
Uncredited photos on this page taken by: Nathan Holth. Unless stated in a caption, all photos are Copyright with All Rights Reserved. Learn about reuse of our photos.
![]()
Views from near abutment from southeast quadrant.
![]()
Views from beside abutment from southeast quadrant.
![]()

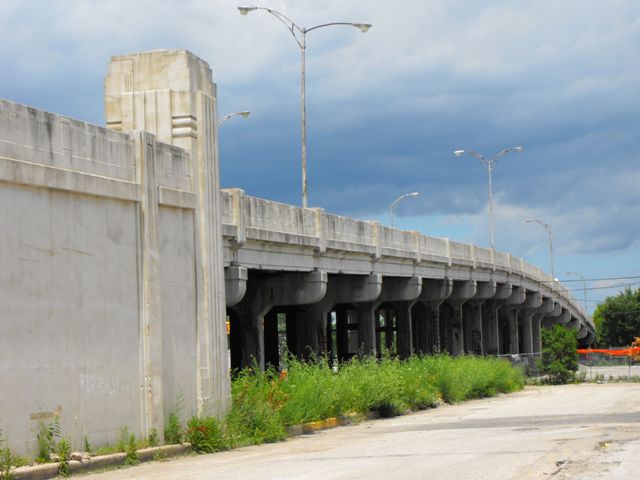
Views from beside approach grade from southeast quadrant.
![]()


Zoomed views from beside abutment from southeast quadrant.
![]()
Views beside bridge from southeast quadrant.
![]()
Views from beside stringer spans from southeast quadrant.
![]()


Views beside bridge towards center of bridge from southeast quadrant.
![]()


Oblique views from southeast quadrant.
![]()


Portal views facing north.
![]()
Portal views facing north from on the approach.
![]()


Portal views on south half of bridge facing north.
![]()
Portal views facing north near center of bridge.
![]()


Zoomed portal views facing north.
![]()


Portal views on bridge facing south.
![]()

Overview of bridge from edge of roadway, southeast quadrant.
![]()

Oblique view from southwest quadrant.
![]()
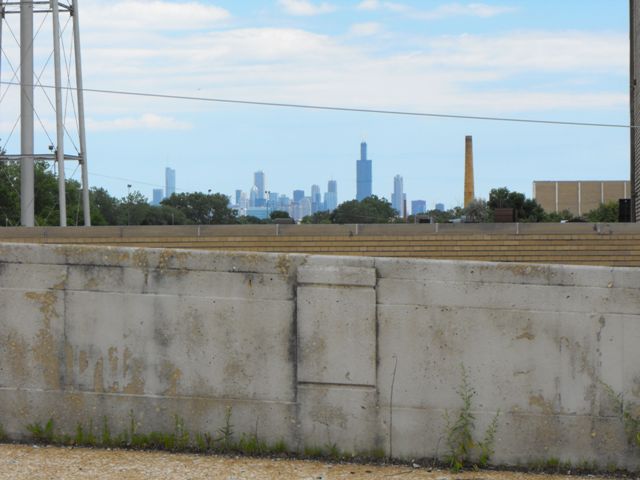
Overview of south abutment and approach grade, views facing south.
![]()


Individual span elevation views.
![]()
![]()
| Back |
| Home |
| Top |

![]()


