Uncredited photos on this page taken by: Nathan Holth. Unless stated in a caption, all photos are Copyright with All Rights Reserved. Learn about reuse of our photos.
![]()

![]()
Photo Credit: Tom Ilich
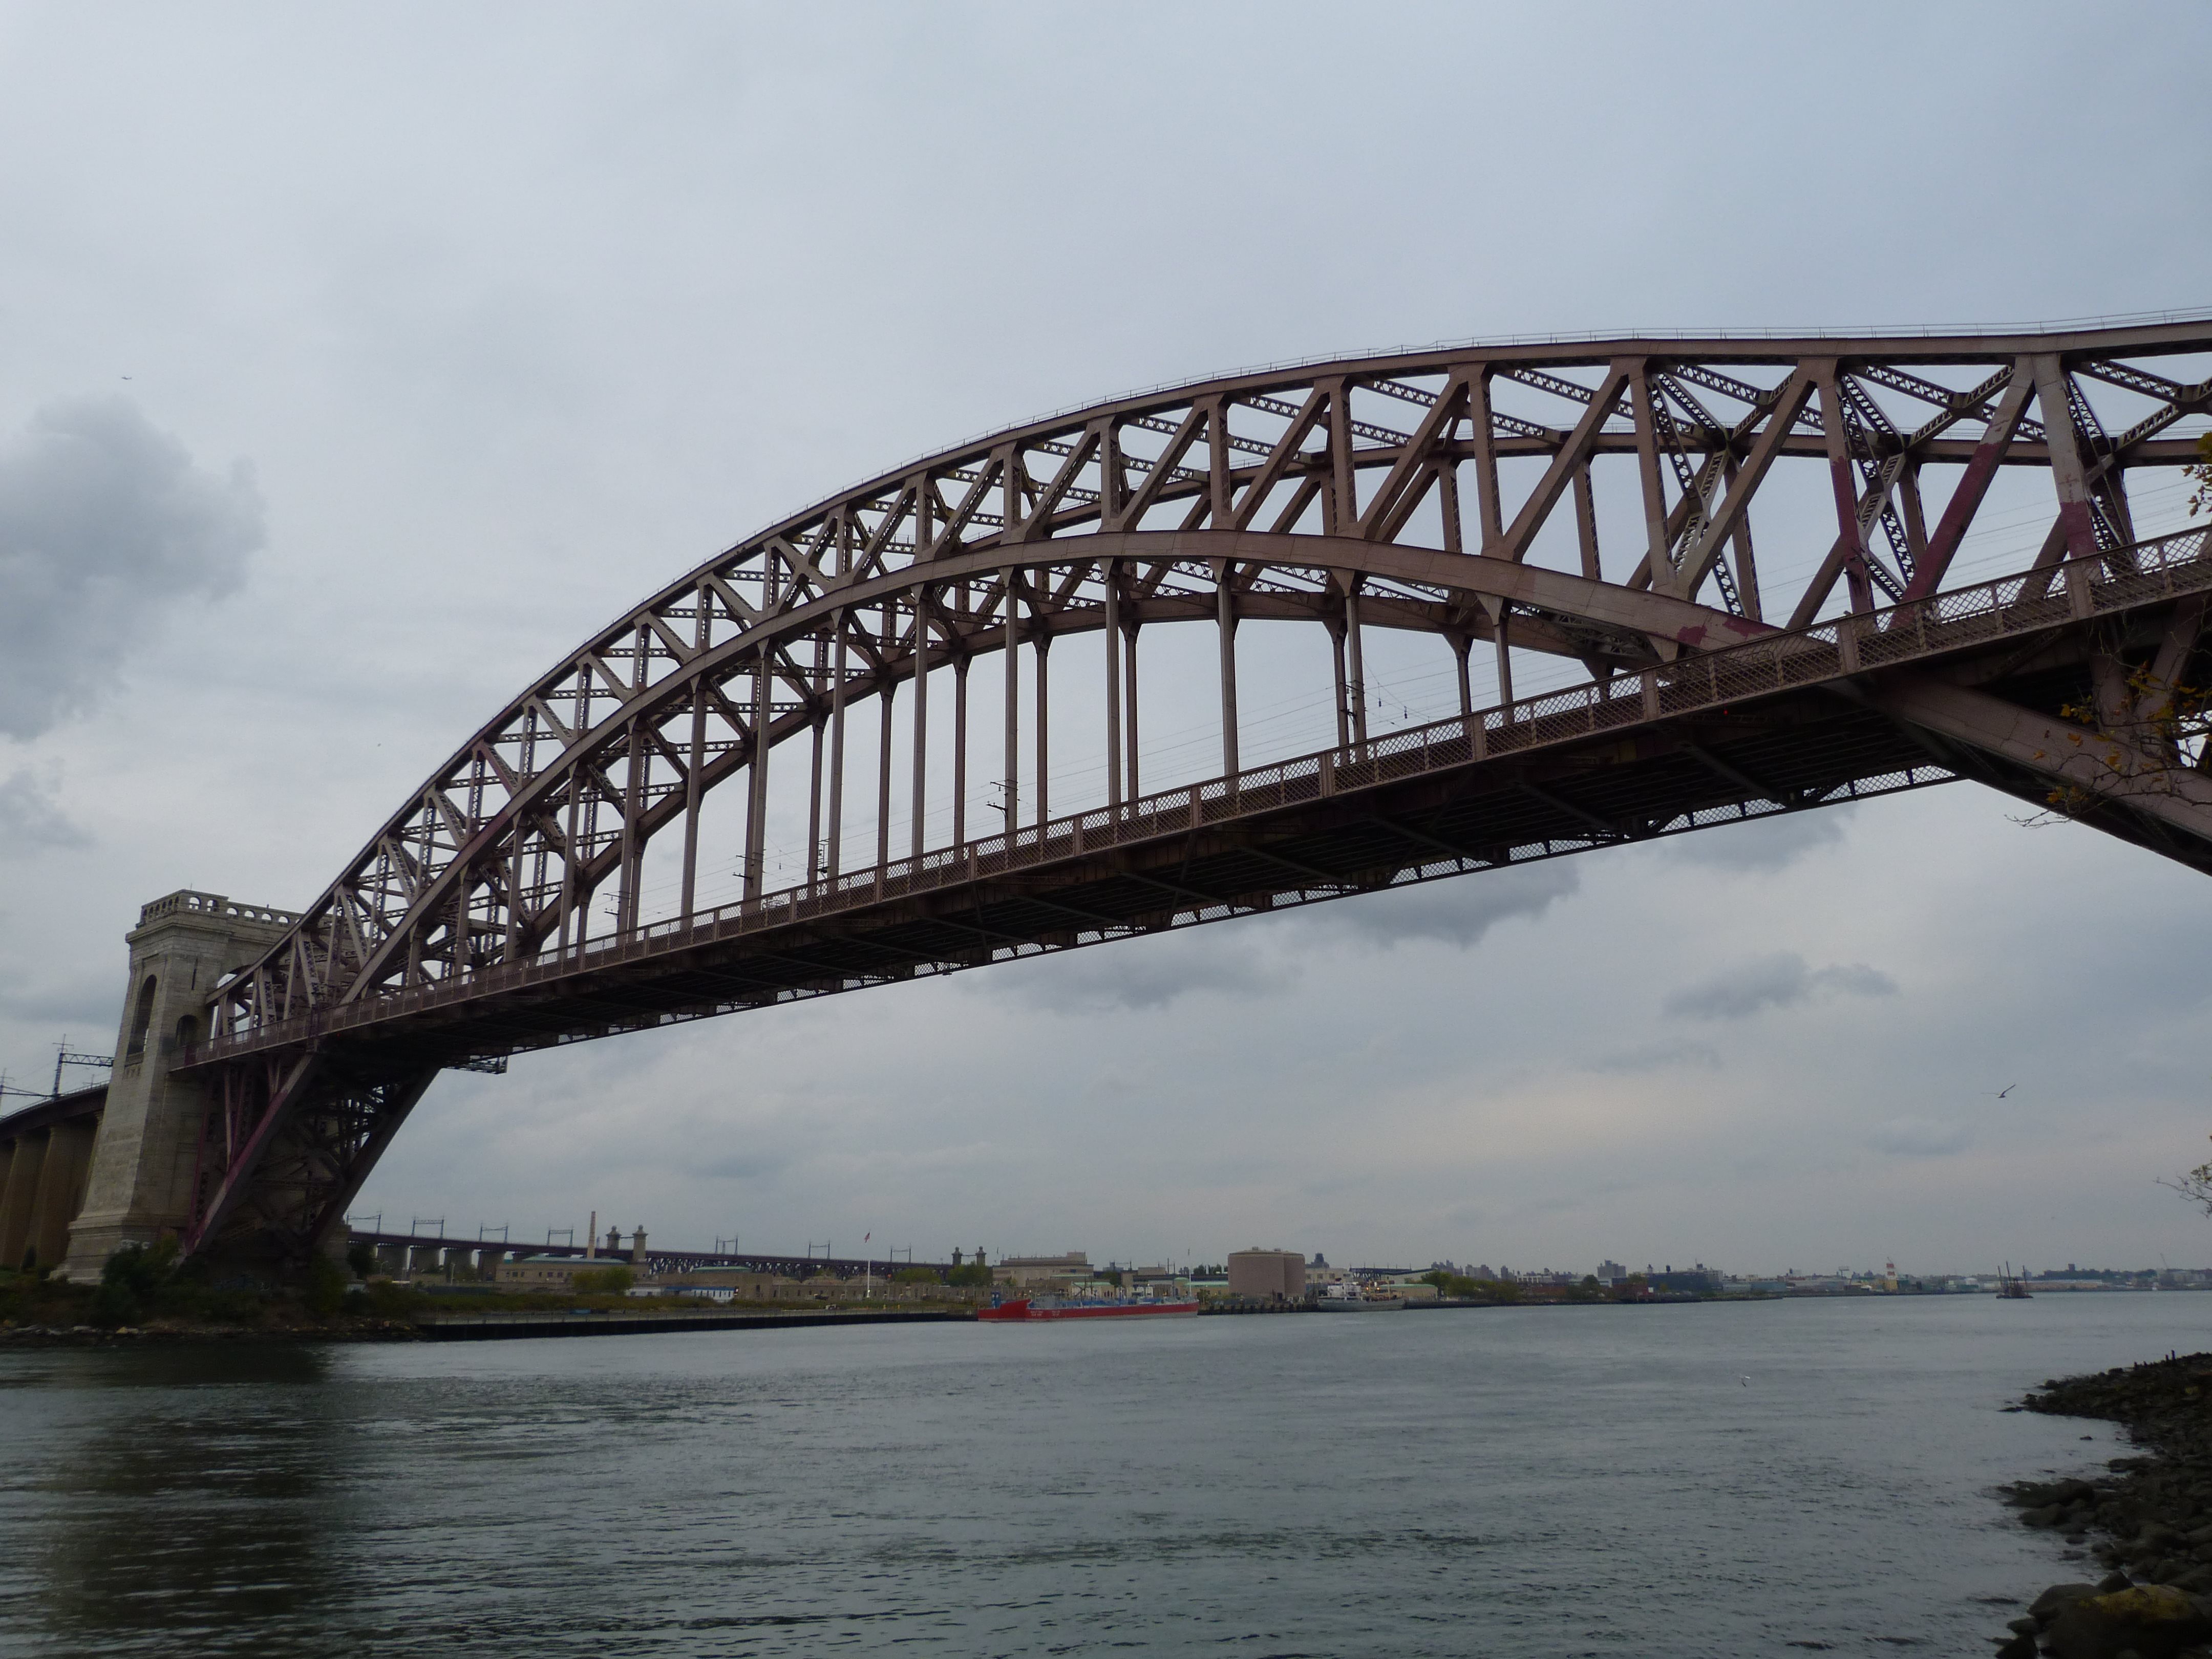
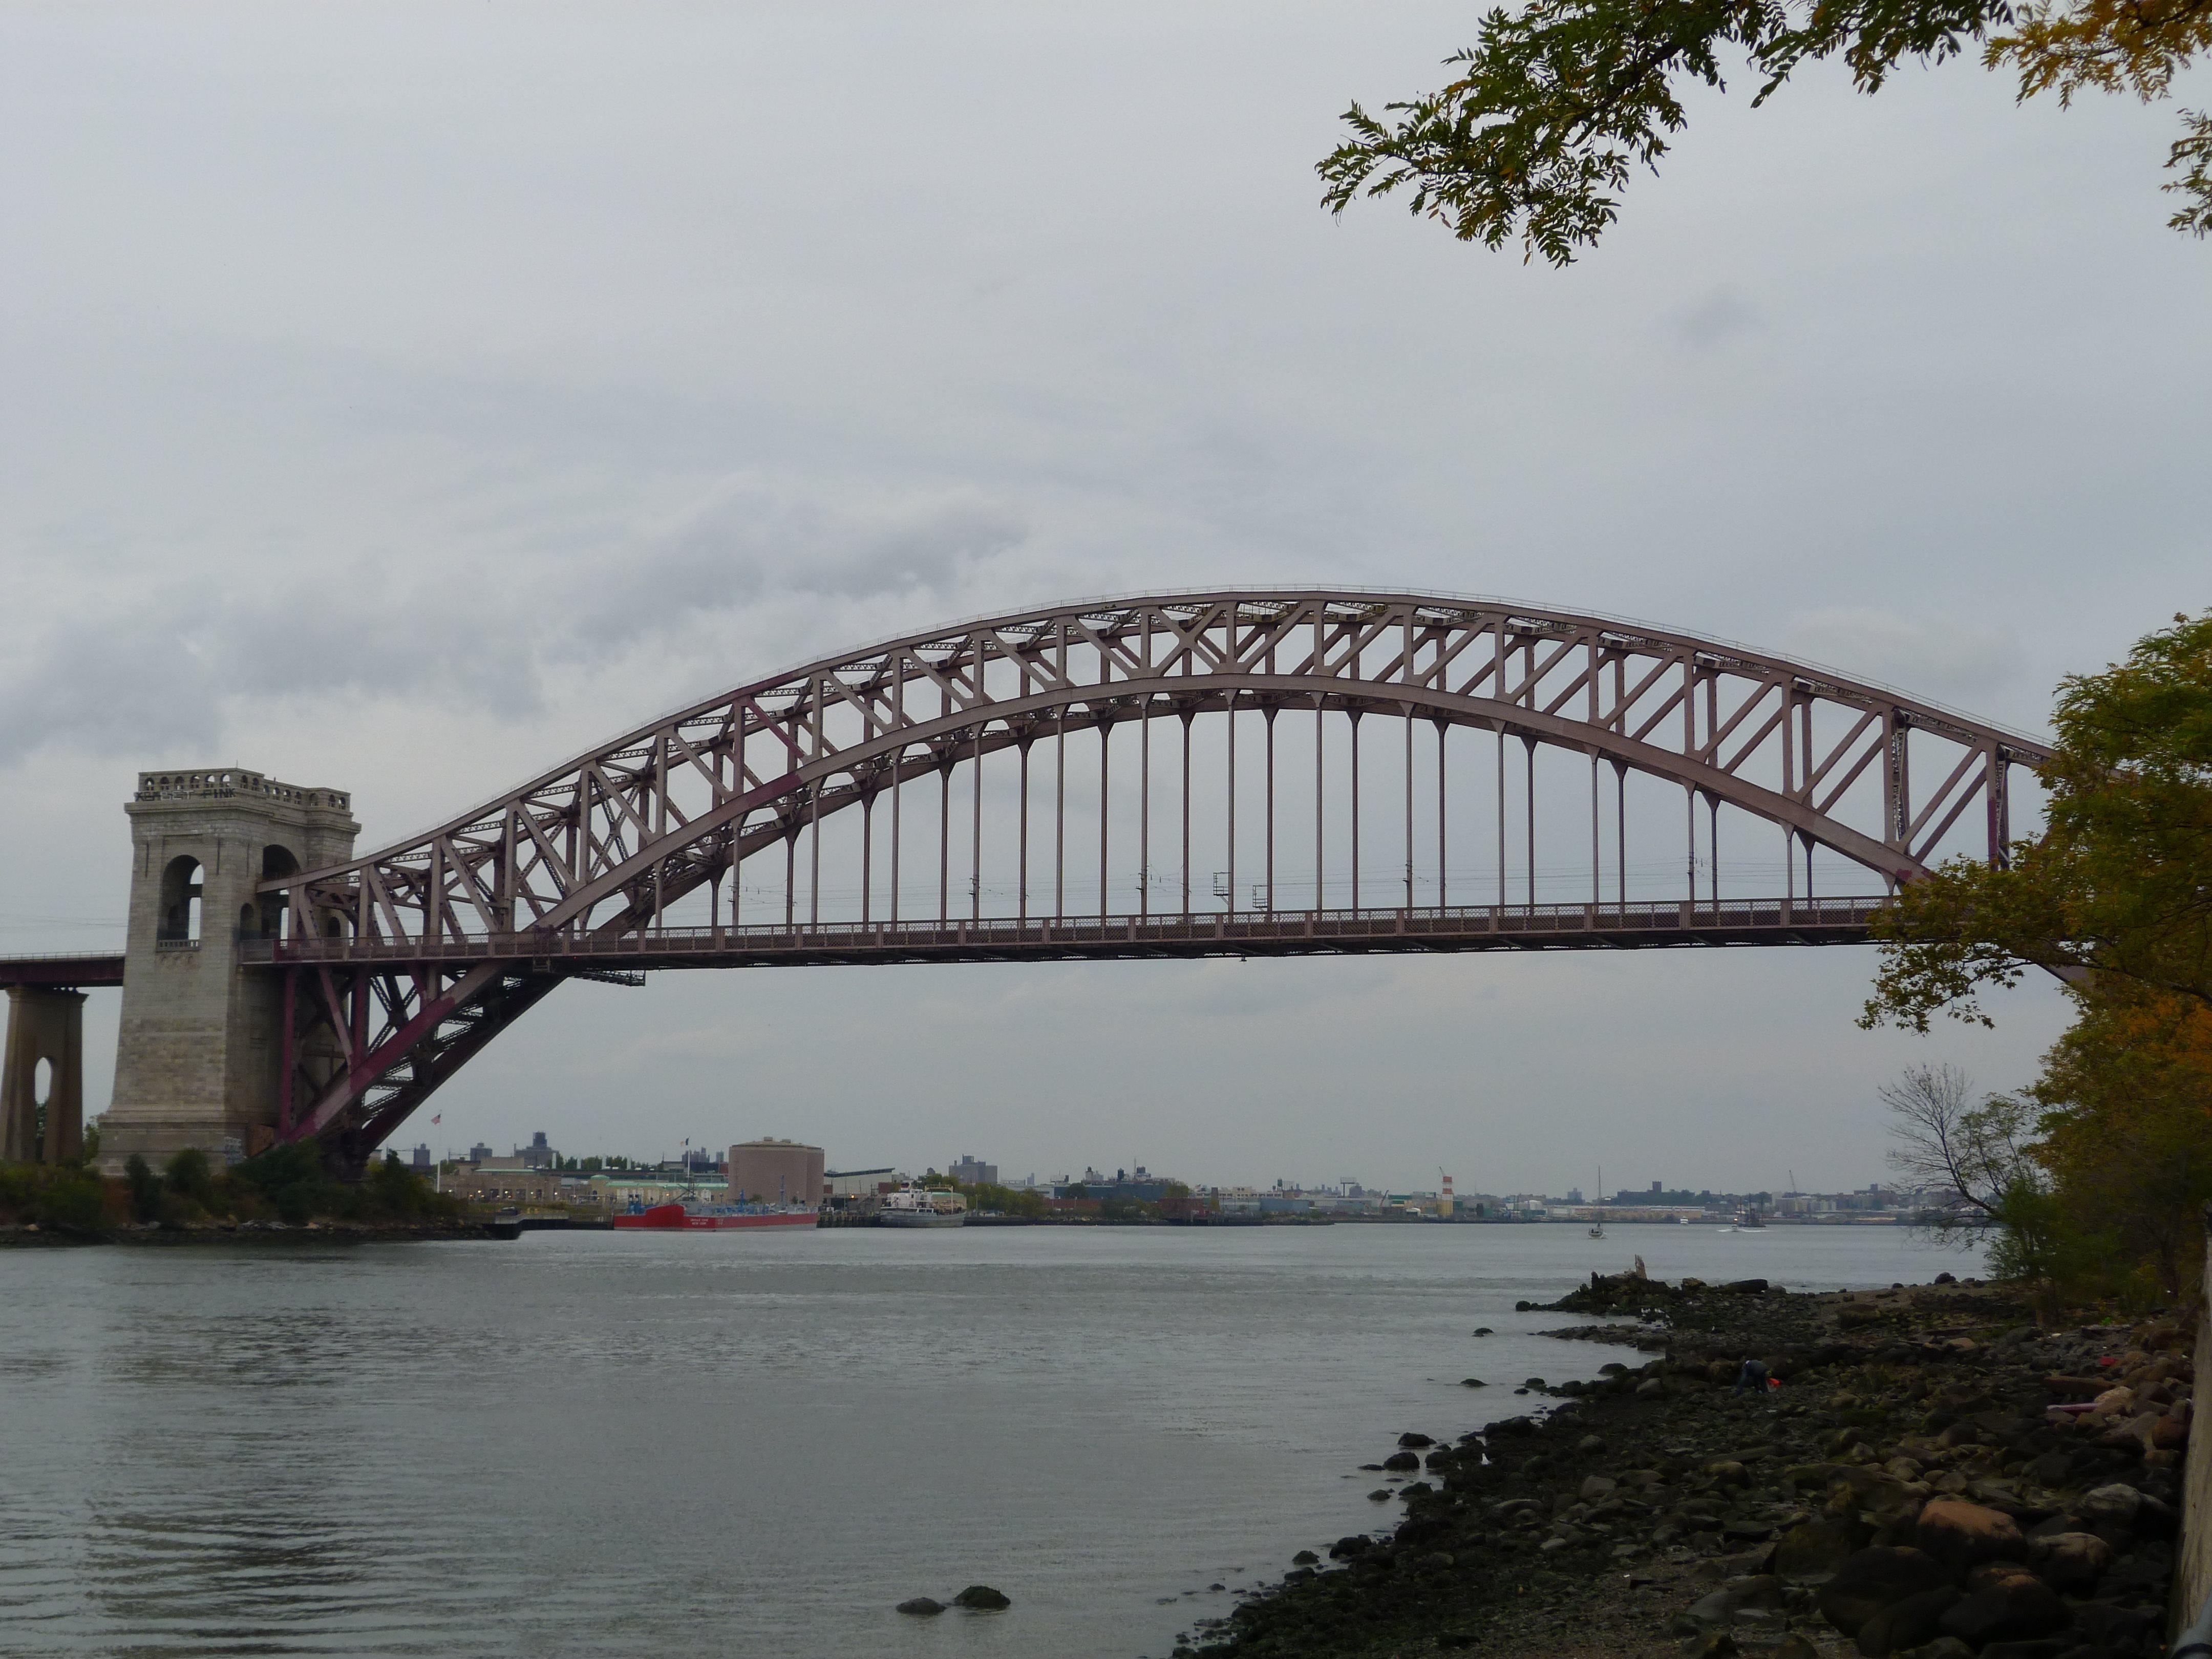
Elevation.
![]()
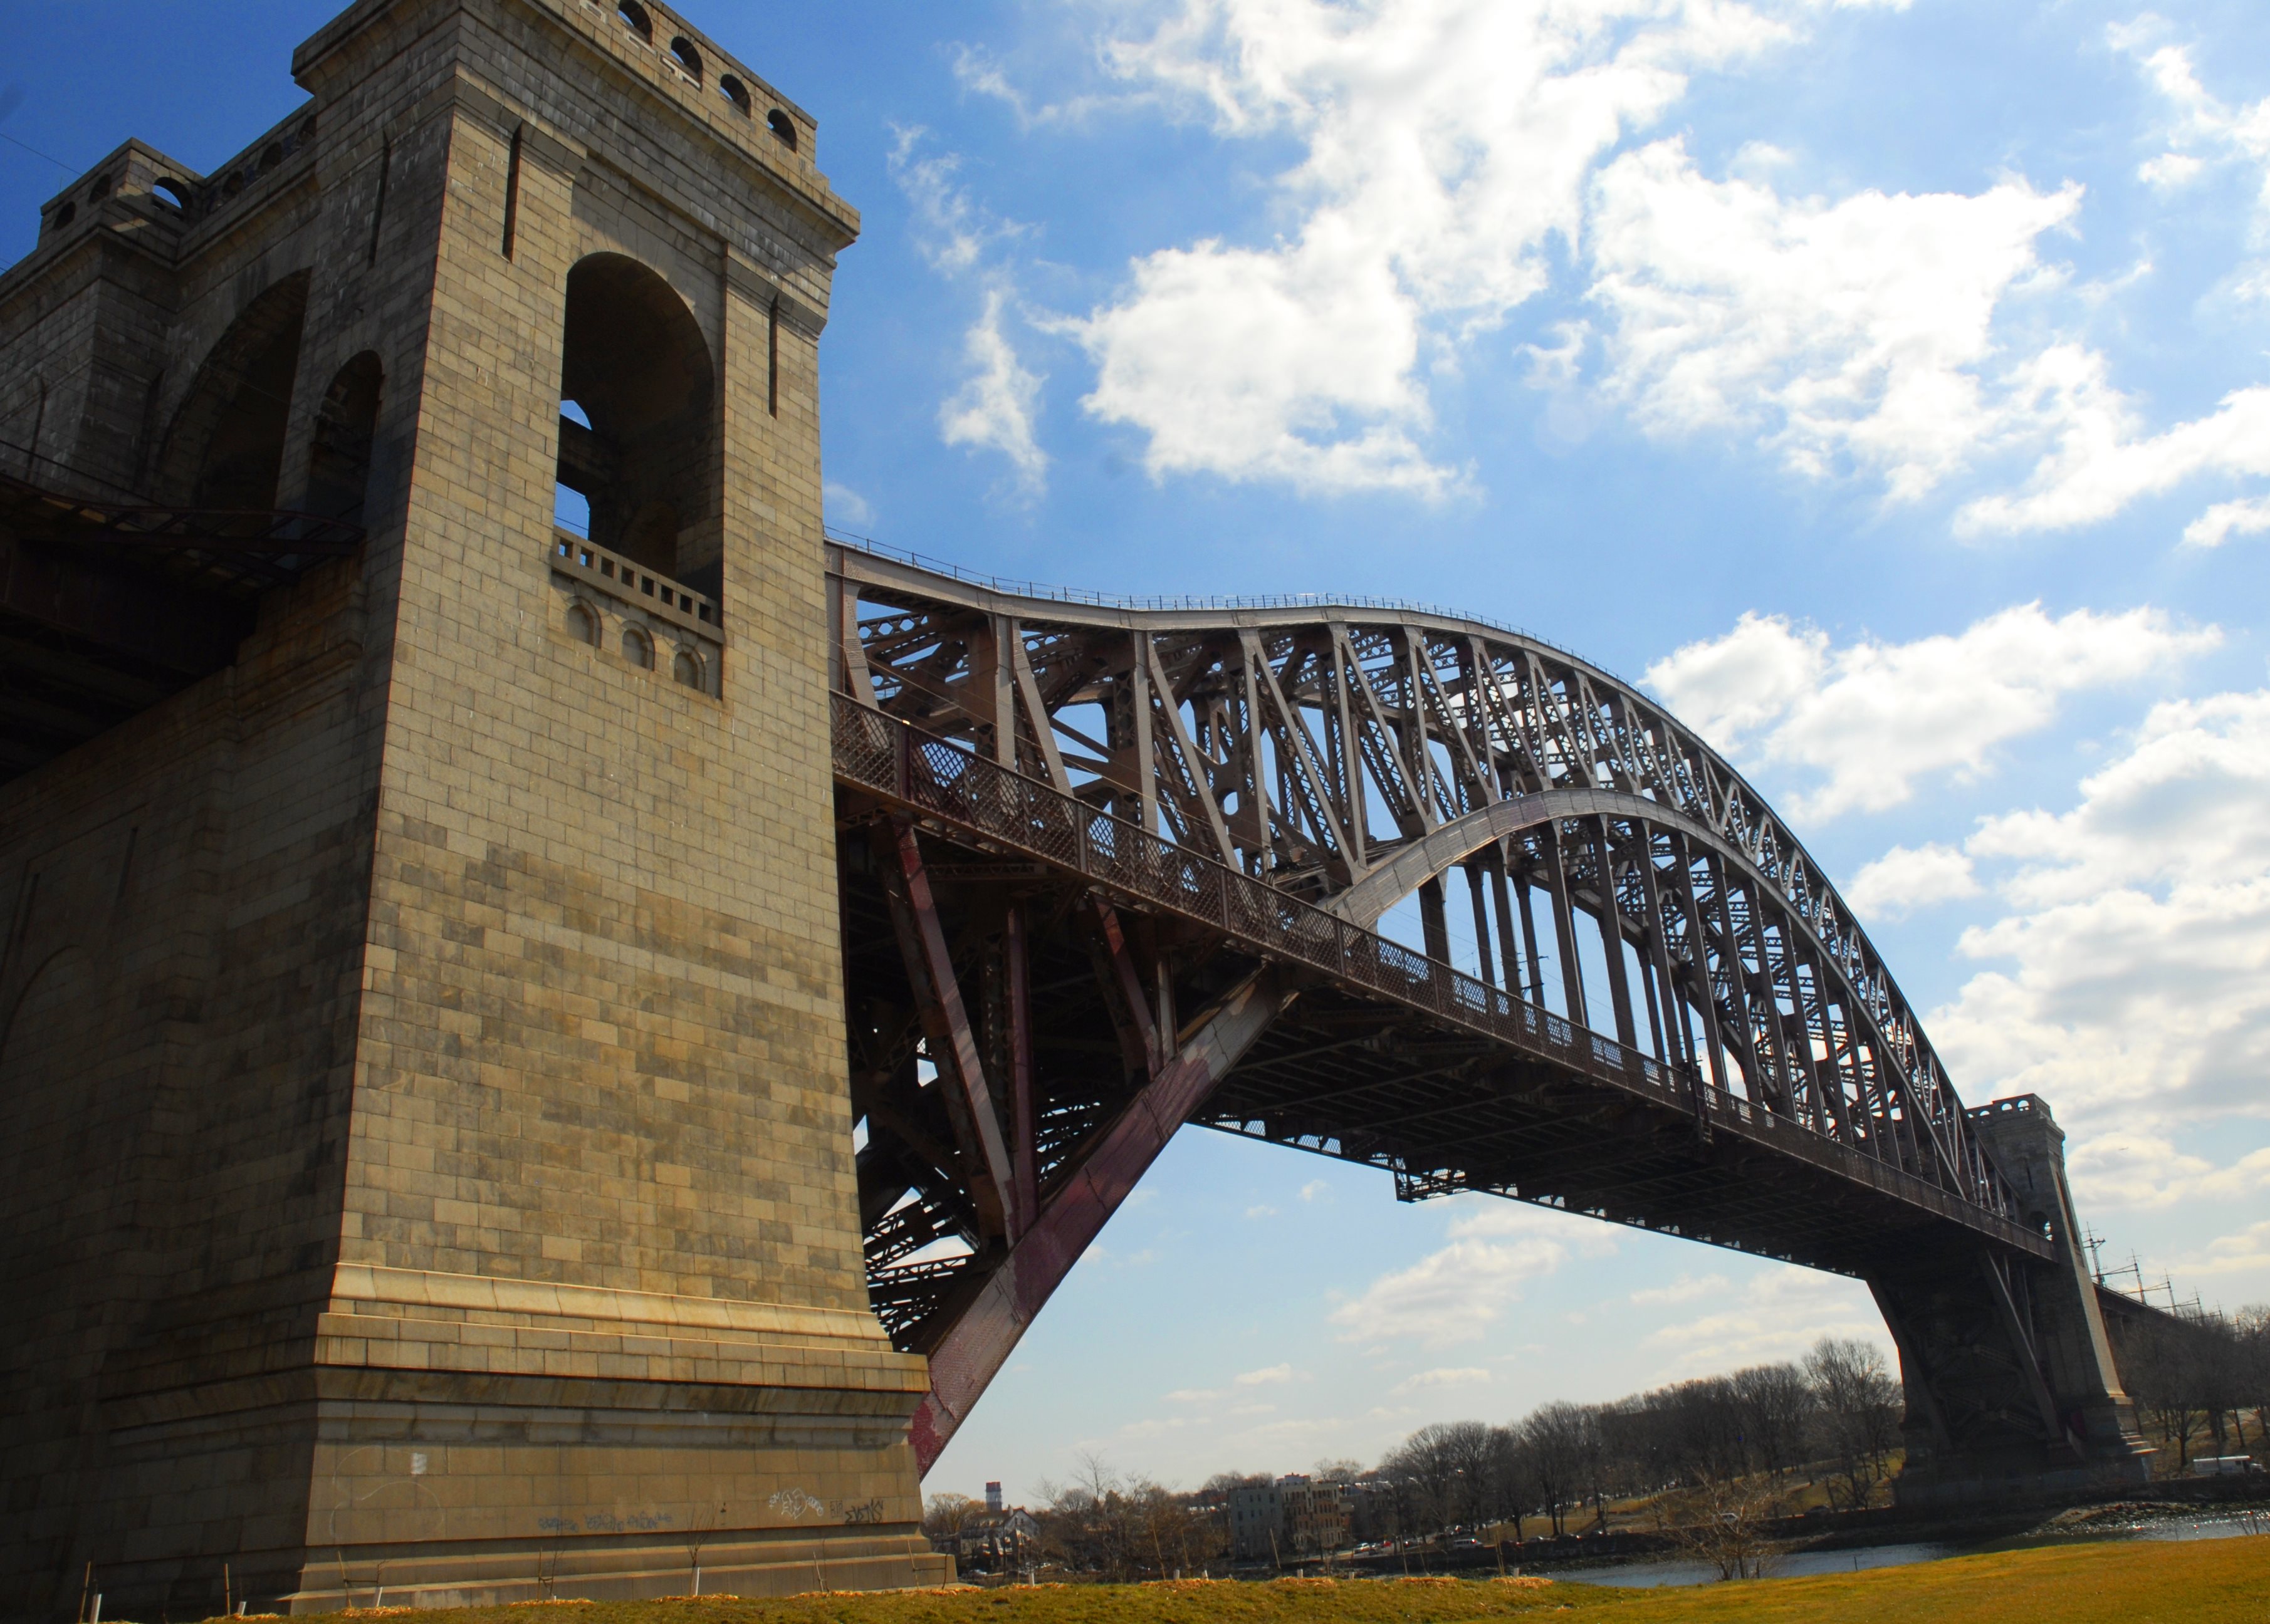
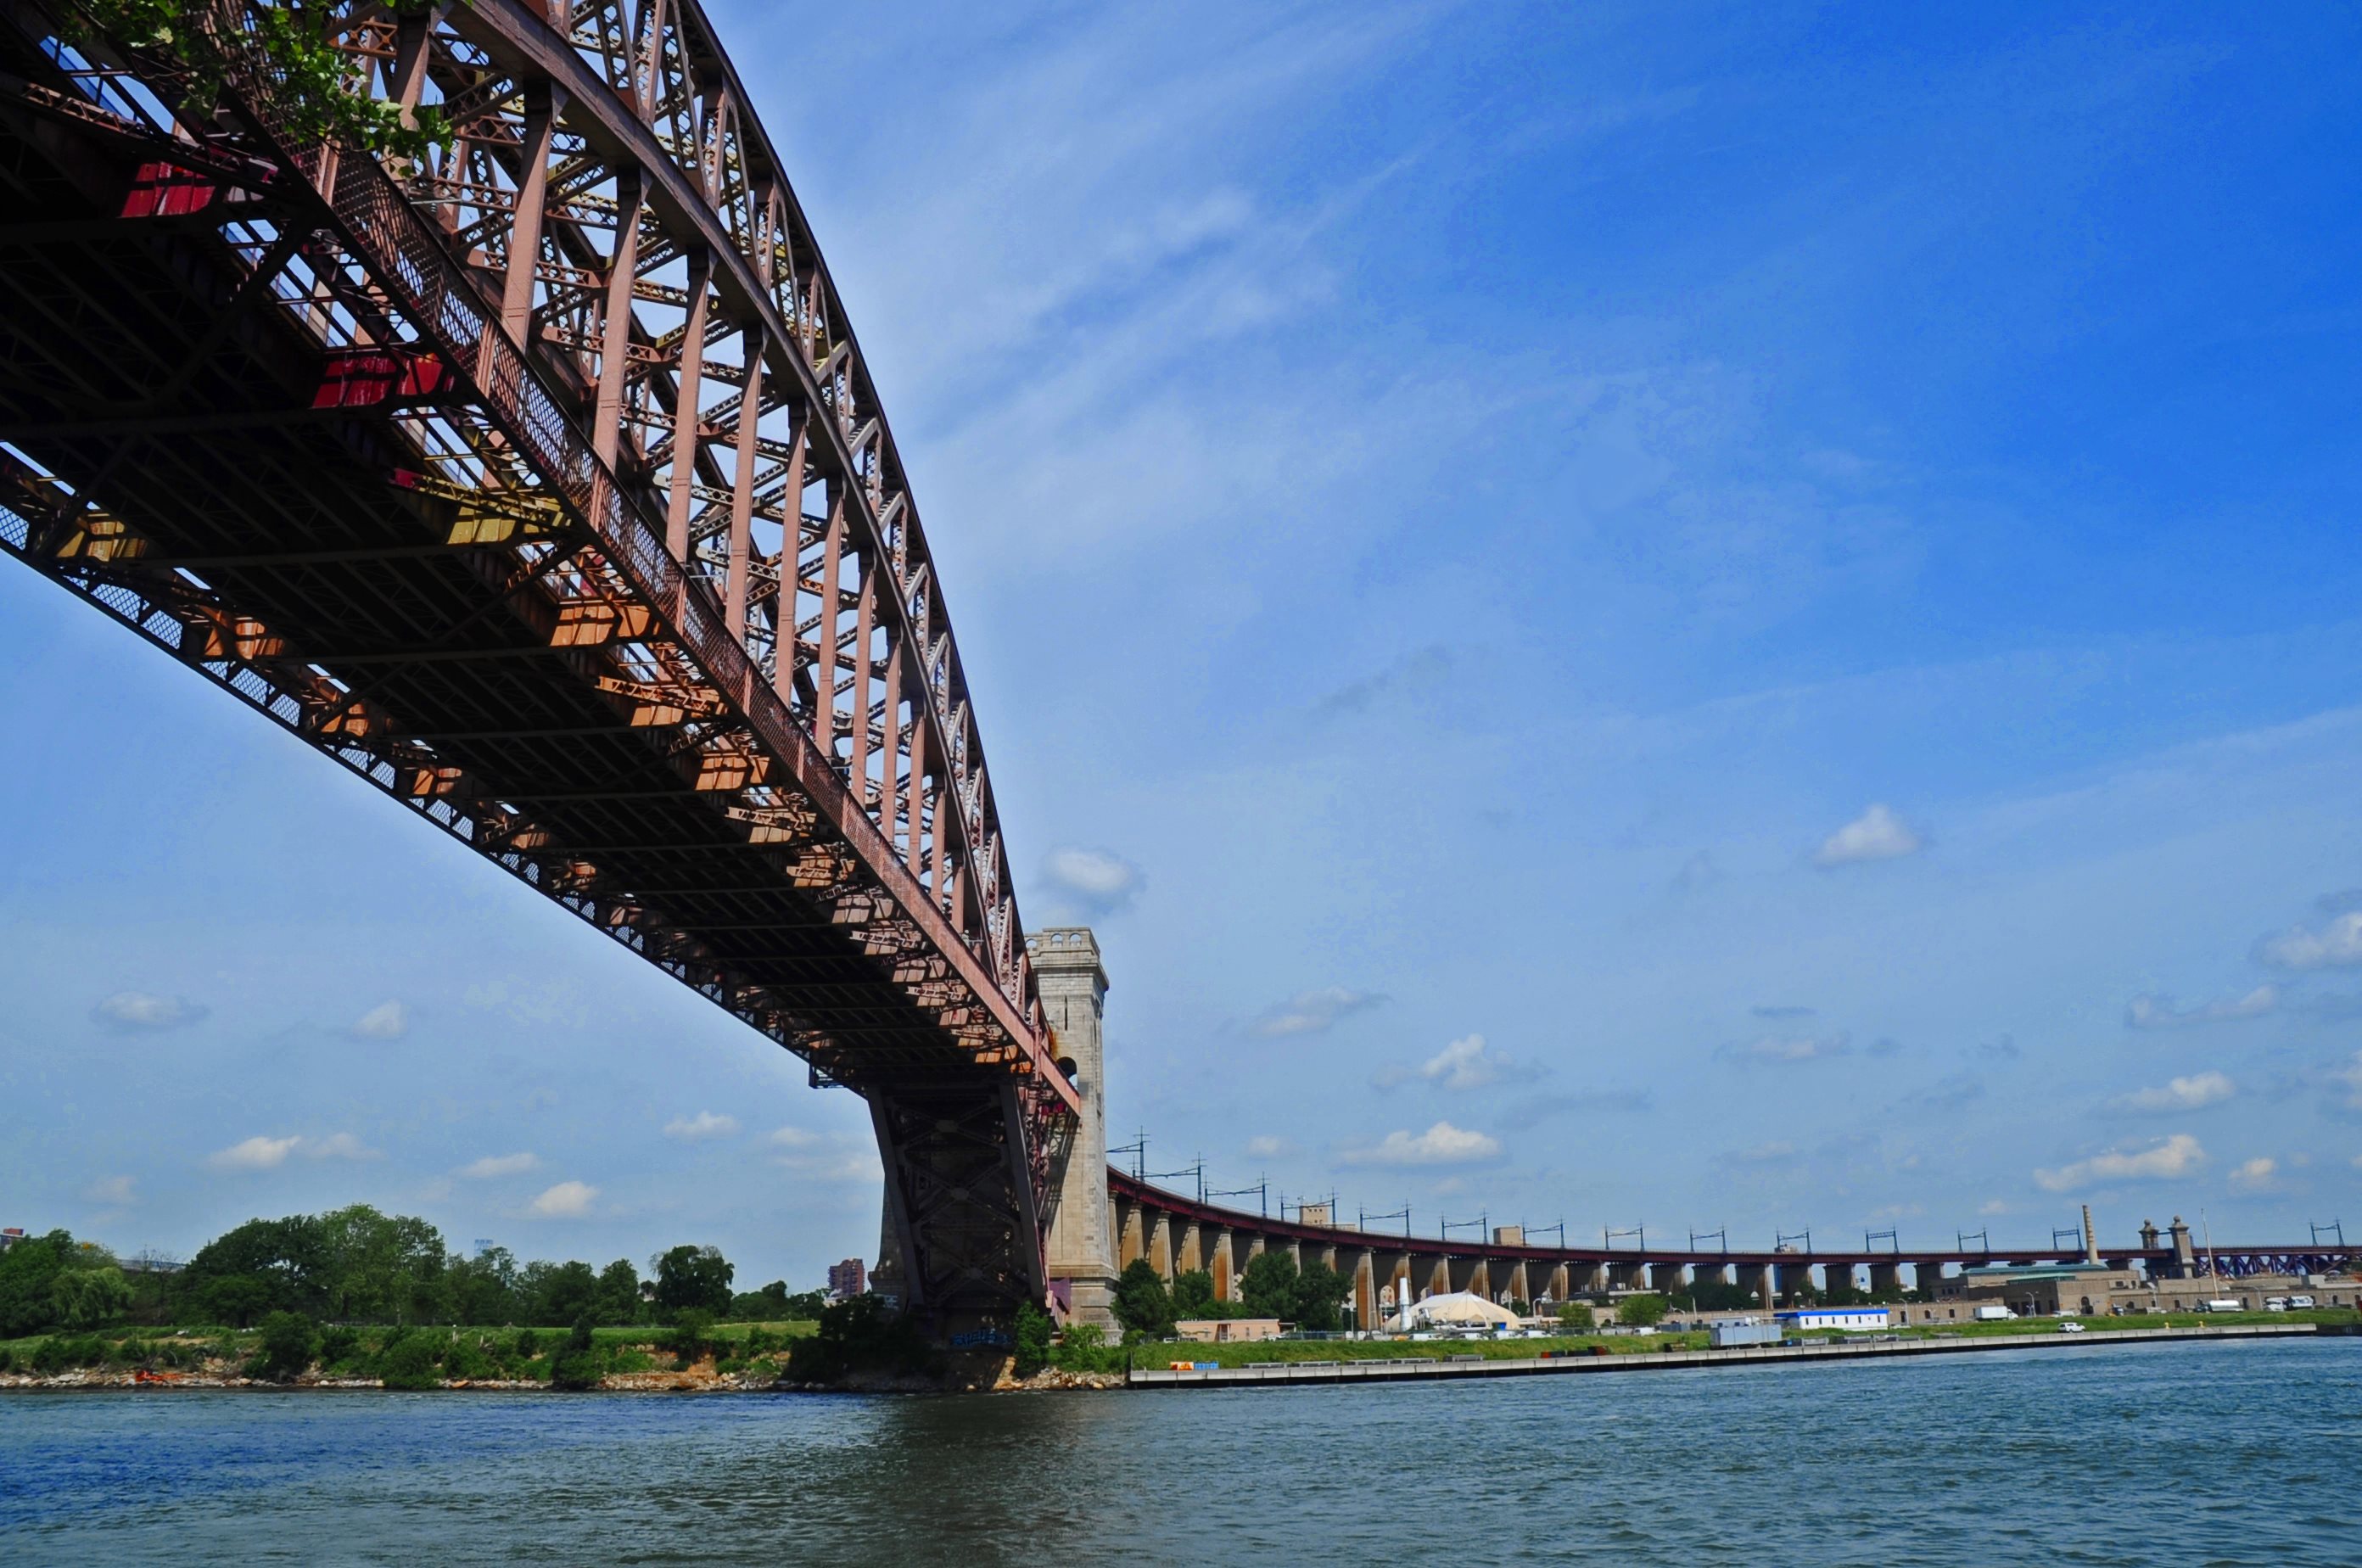
Photo Credit: Tom Ilich
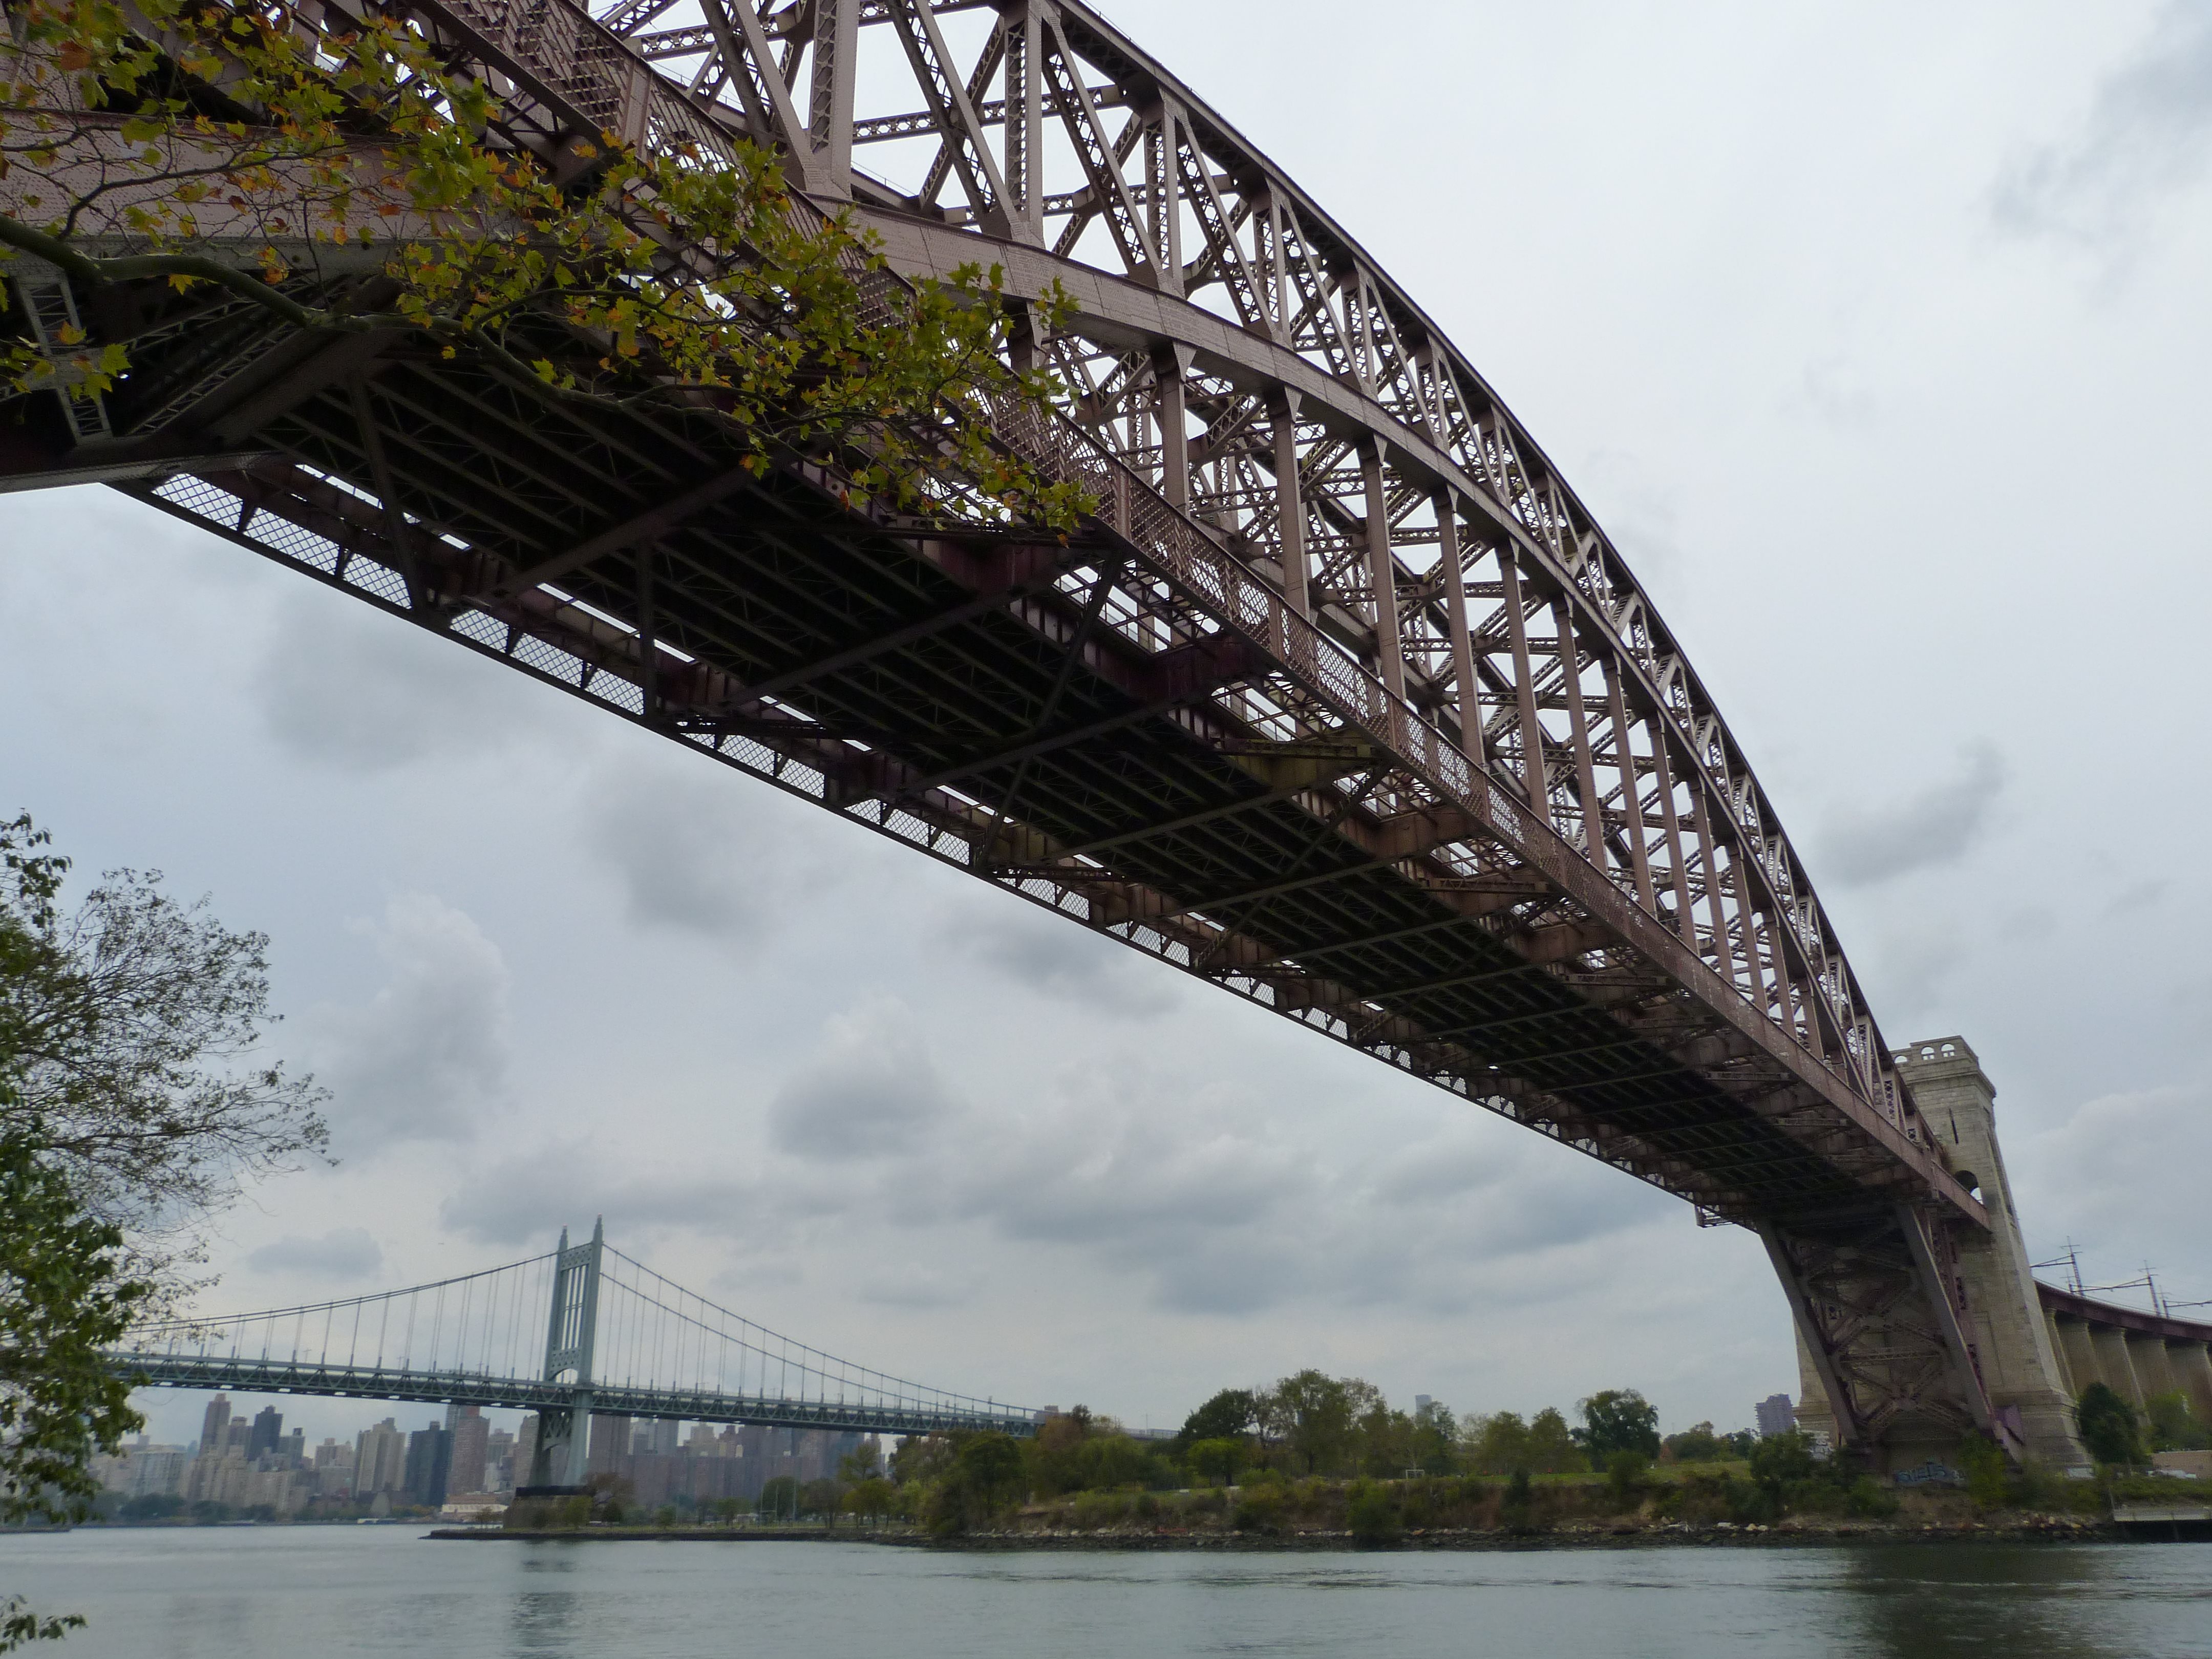
Views beside bridge.
![]()

Photo Credit: Tom Ilich
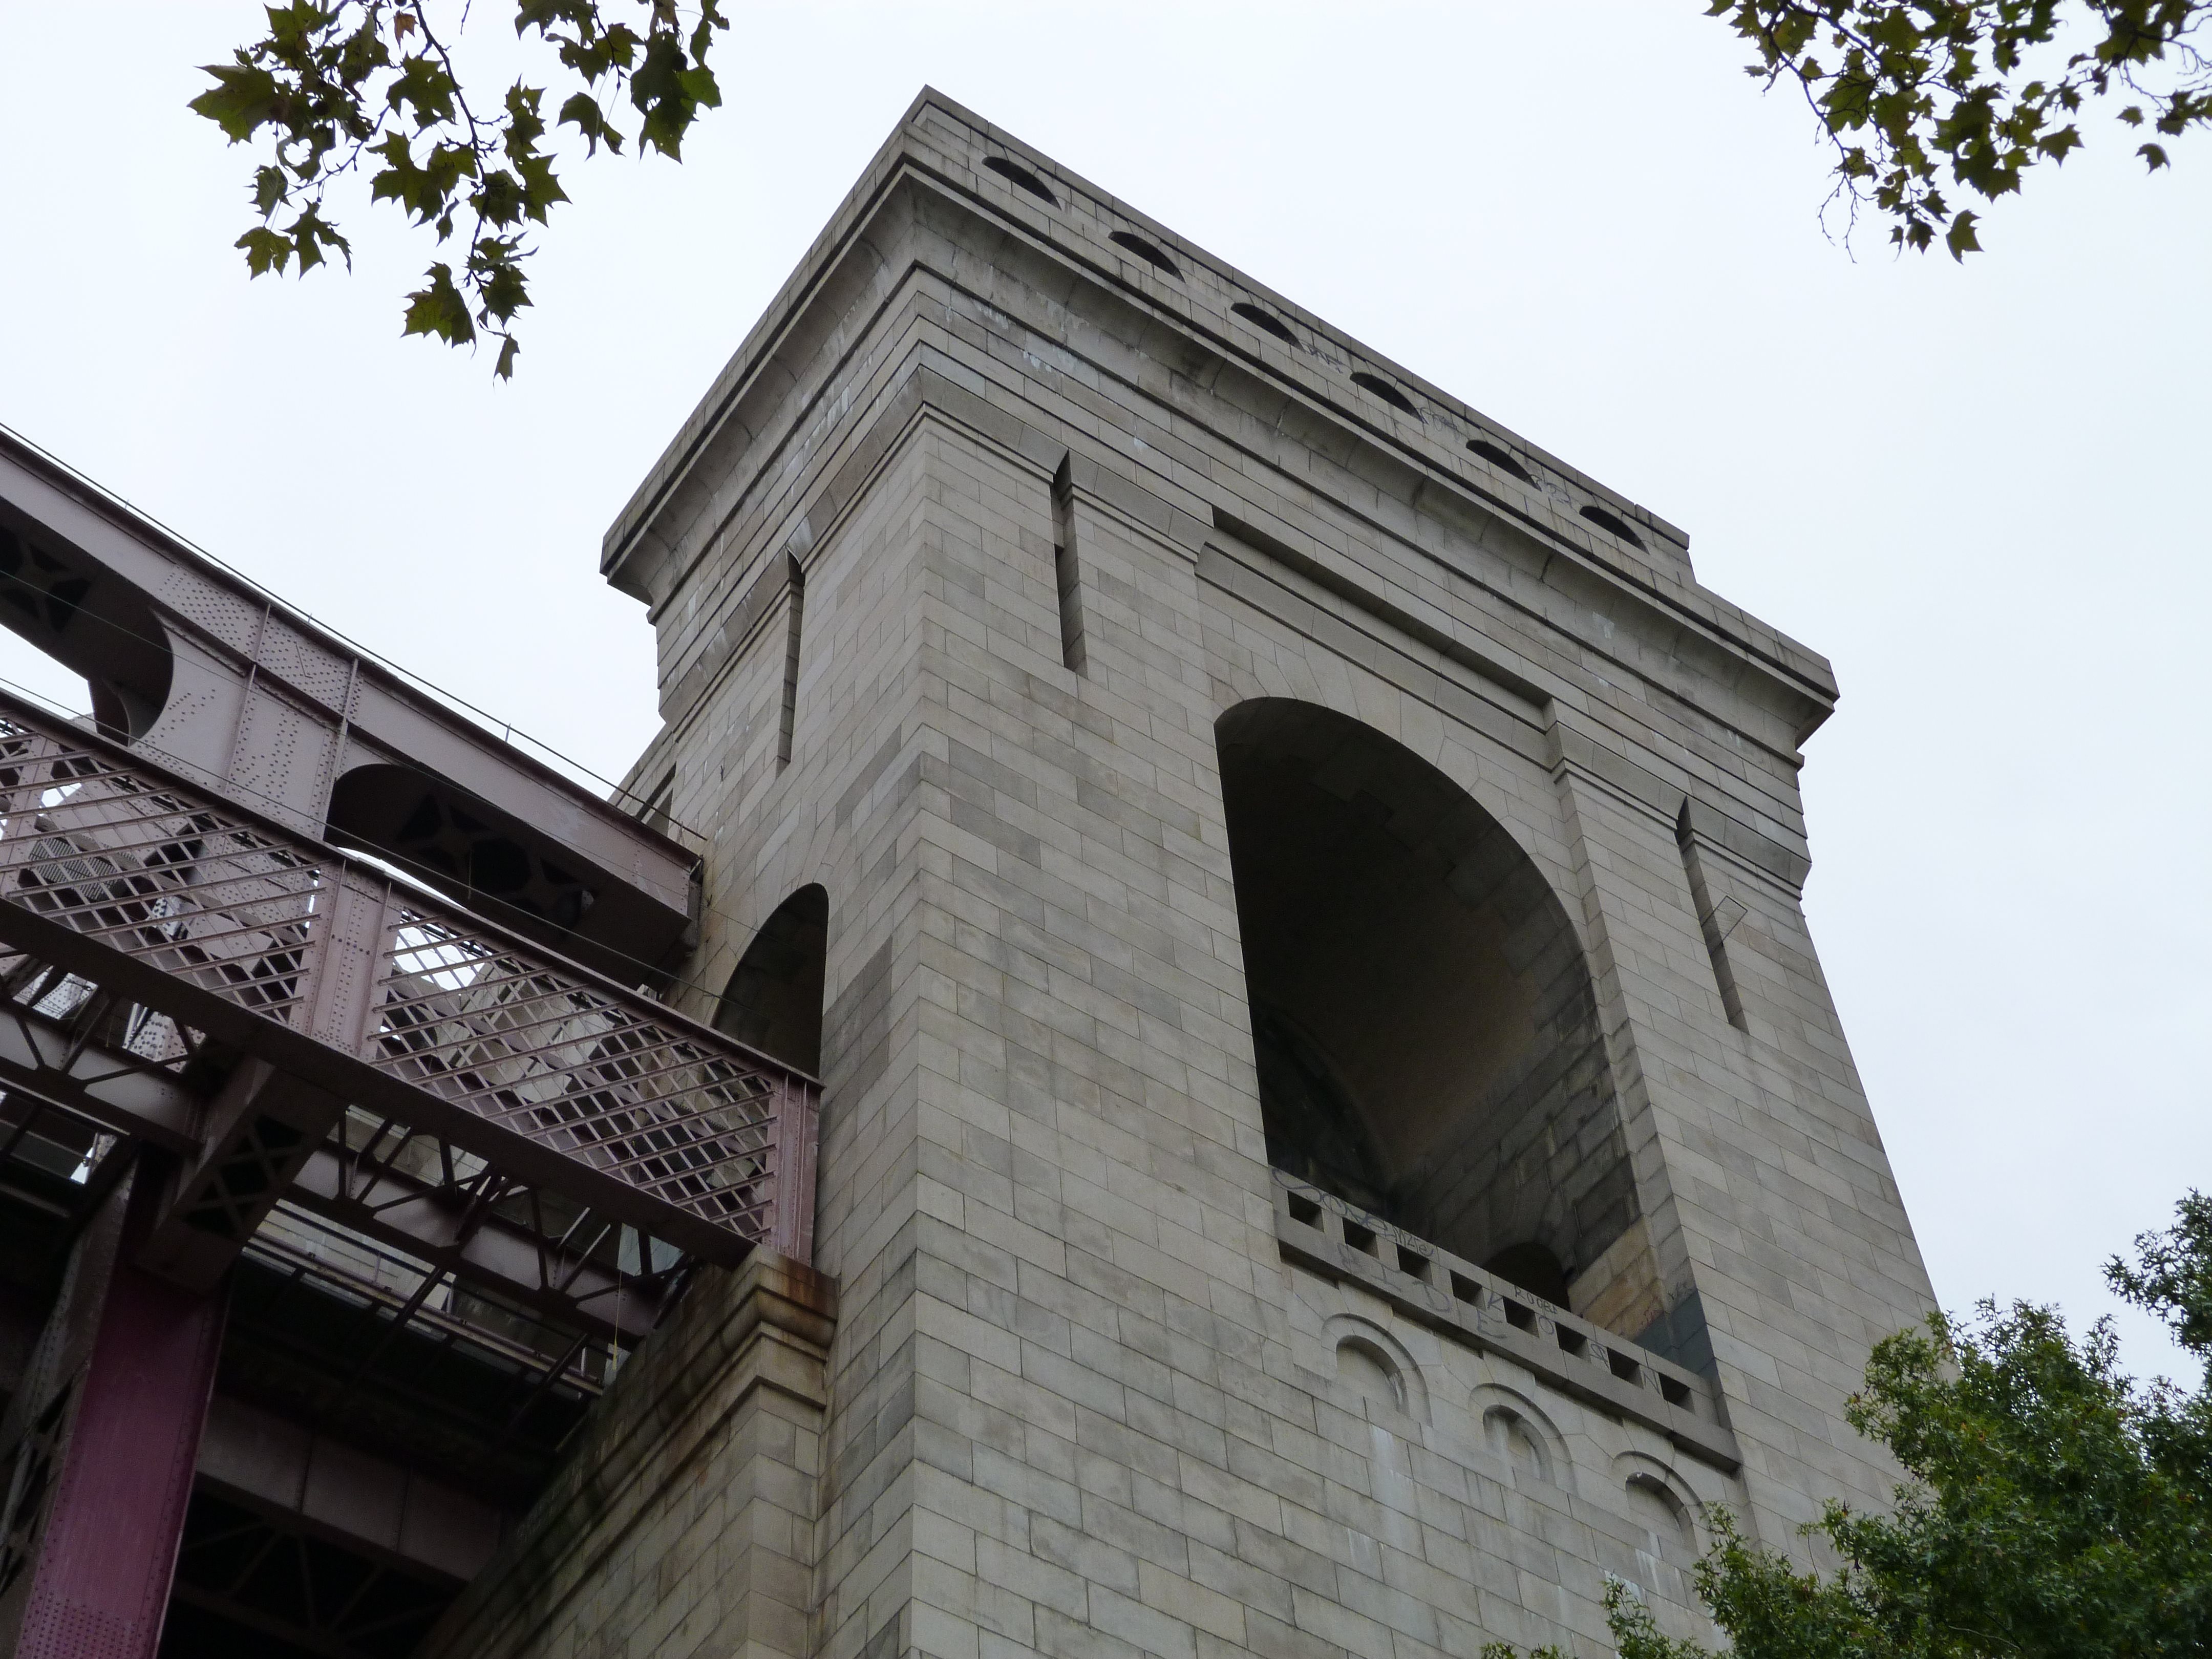
Pier.
![]()

Photo Credit: Tom Ilich
Approach spans leading up to arch span.
![]()

Photo Credit: John H. Gray, CC BY-NC 2.0, flickr.com/photos/8391775@N05/2434472887/
Portal view on bridge.
![]()

Elevation from south quadrant.
![]()
Views beside bridge from south quadrant.
![]()
View beside bridge from east quadrant.
![]()

Plaque.
![]()

View of the bearing and skewback. Note the people sitting on the abutment next to it, which give an excellent sense of scale, showing how immense the bearing is.
![]()
Bearings and skewbacks.
![]()
Piers.
![]()

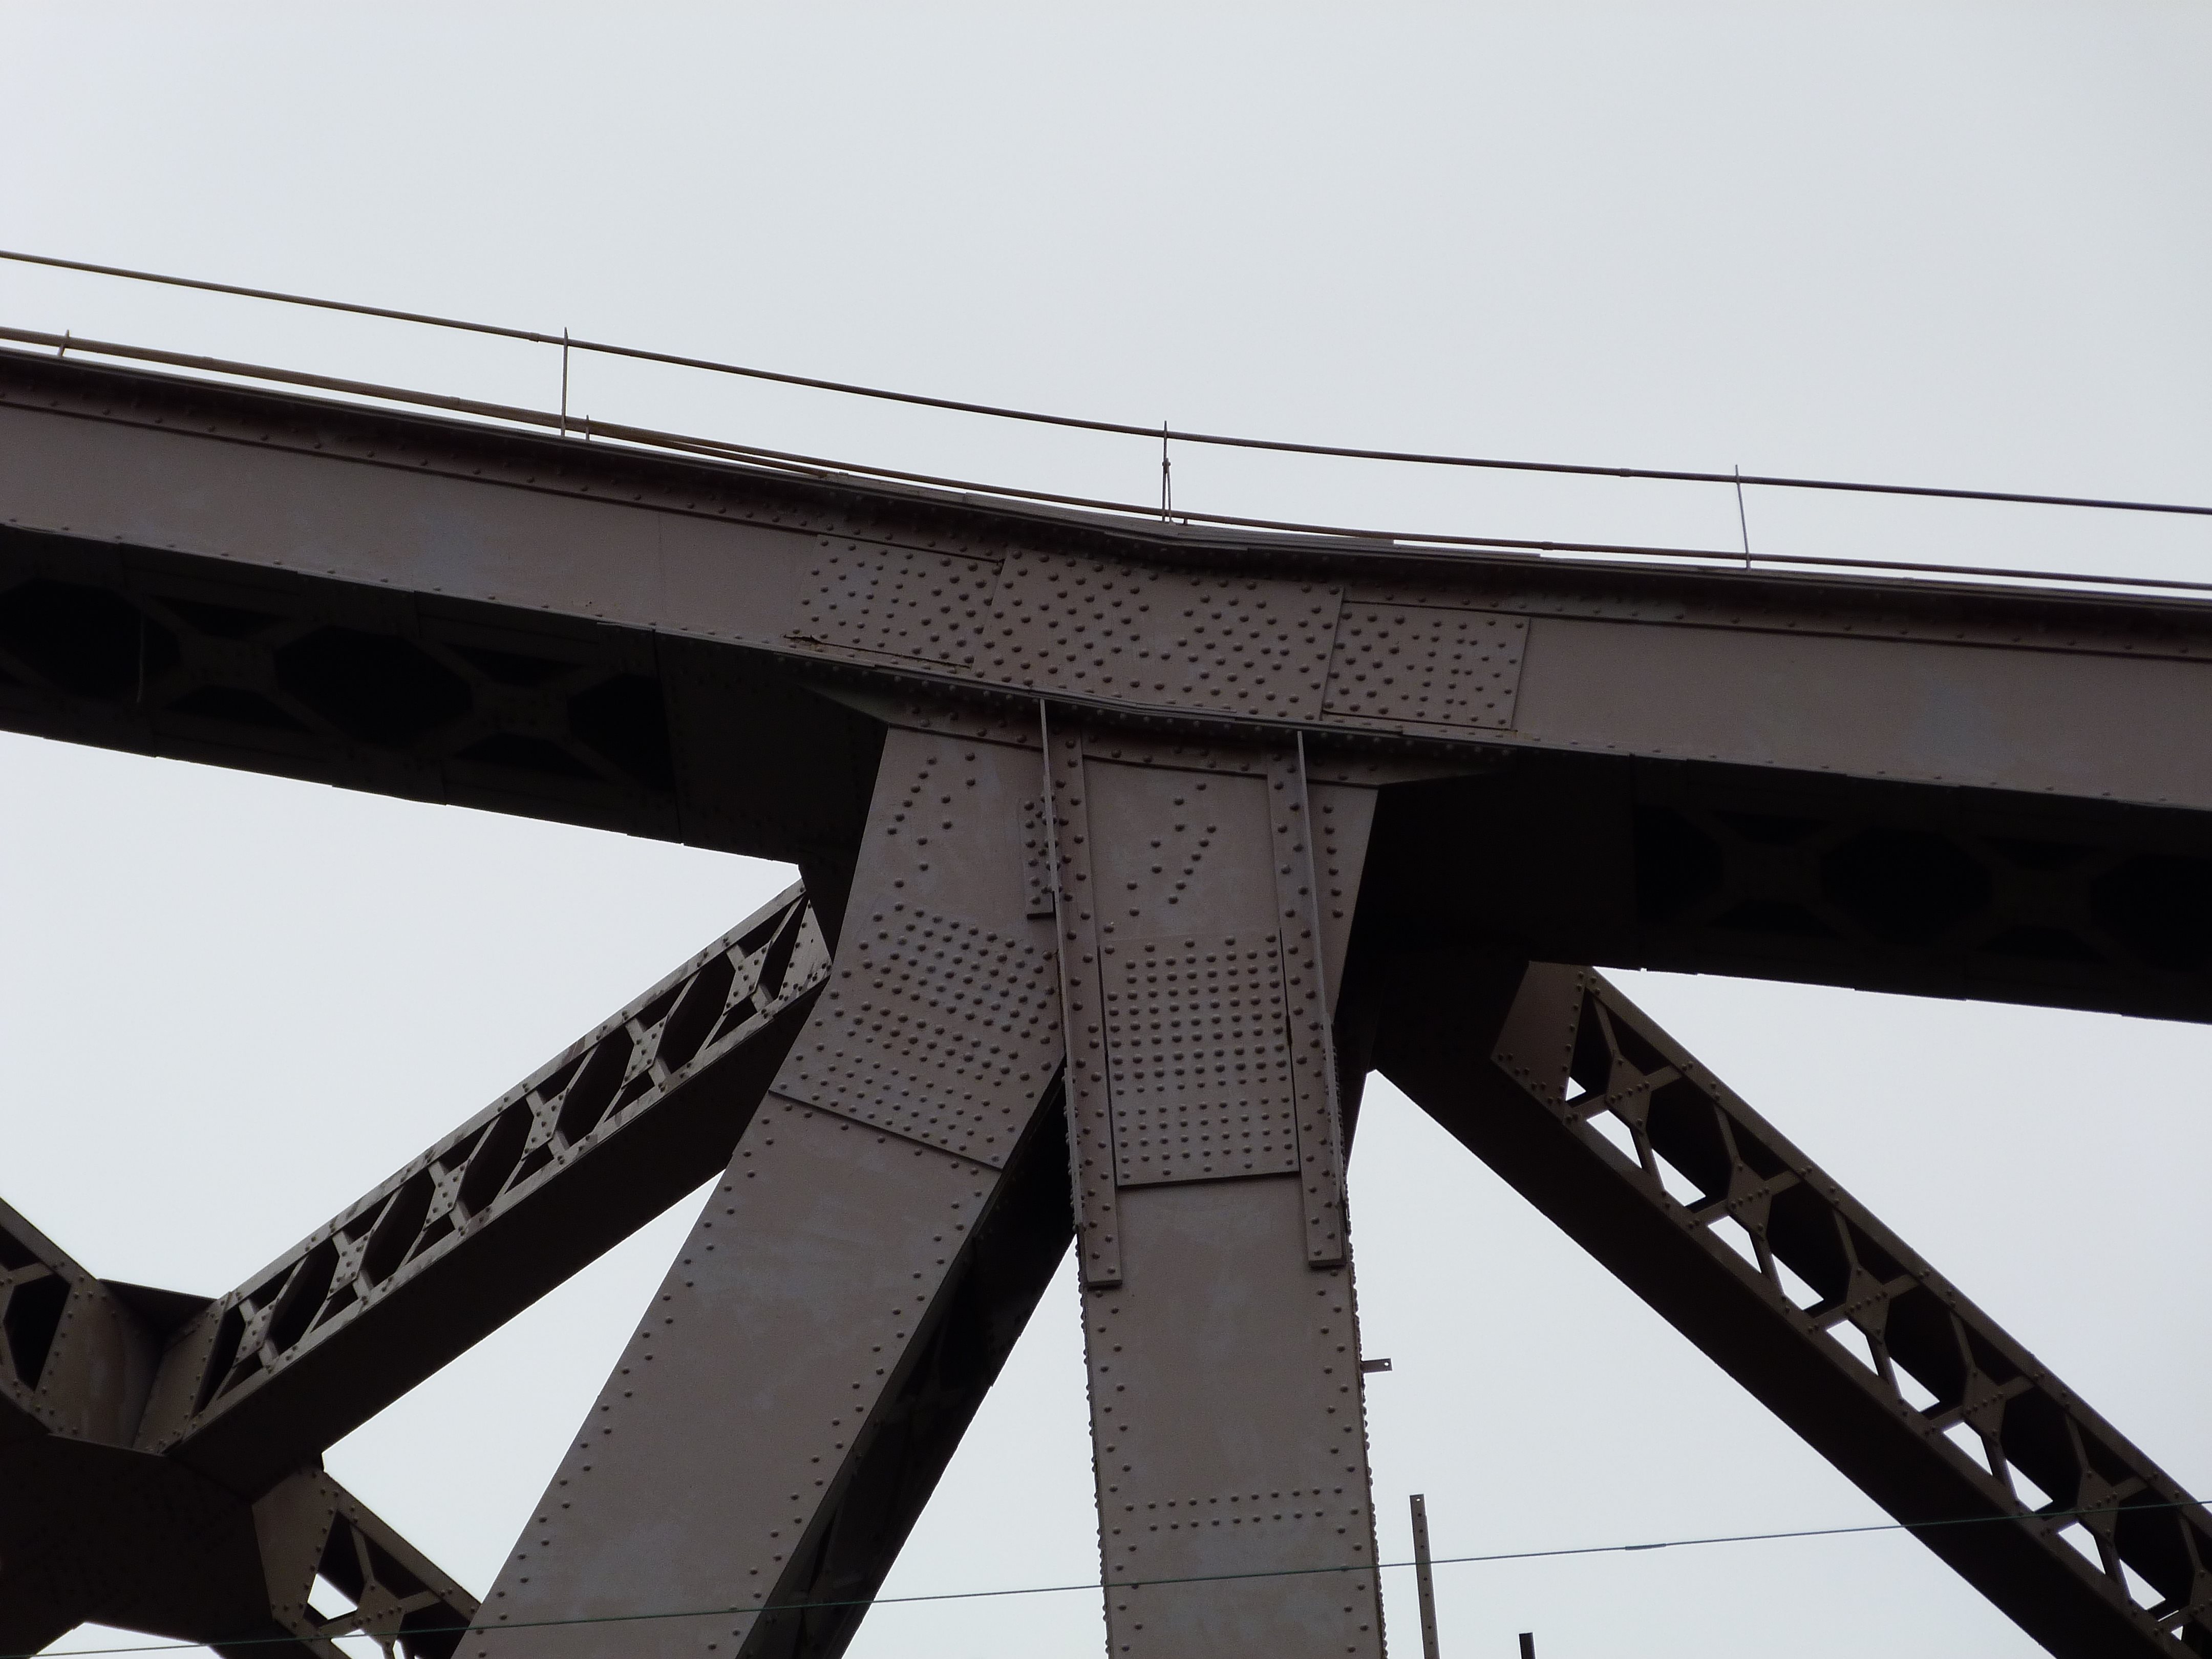


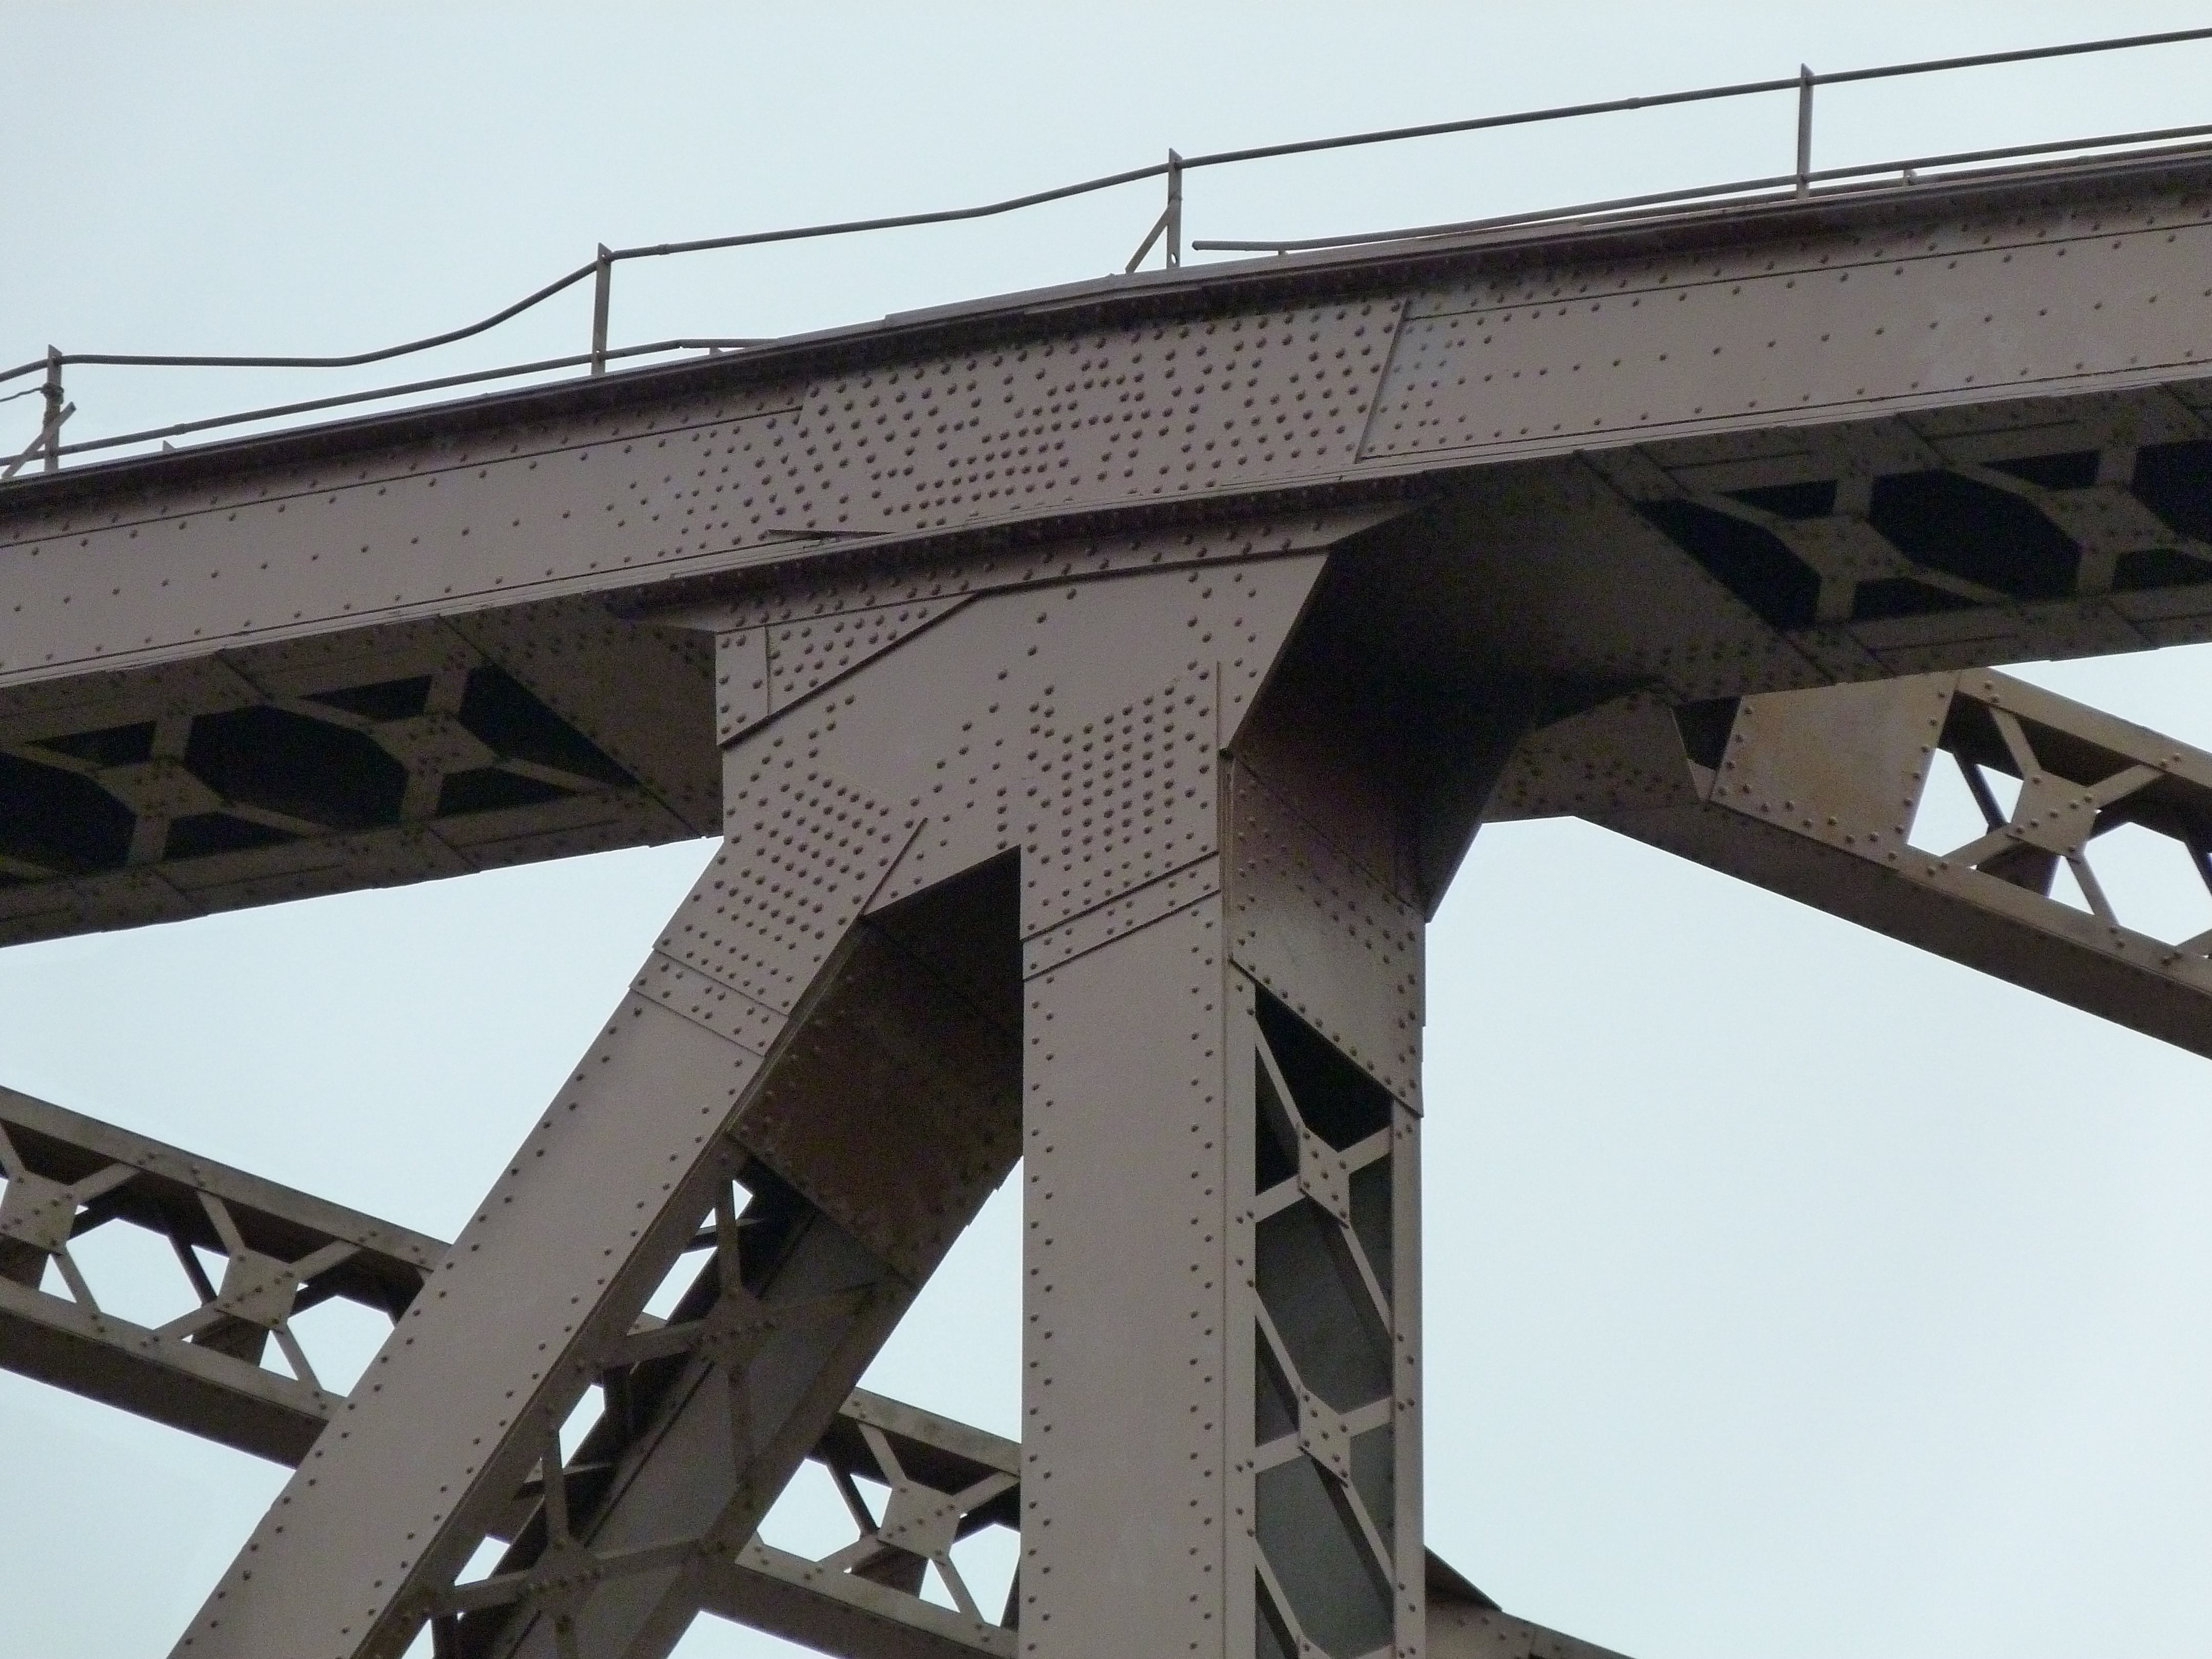


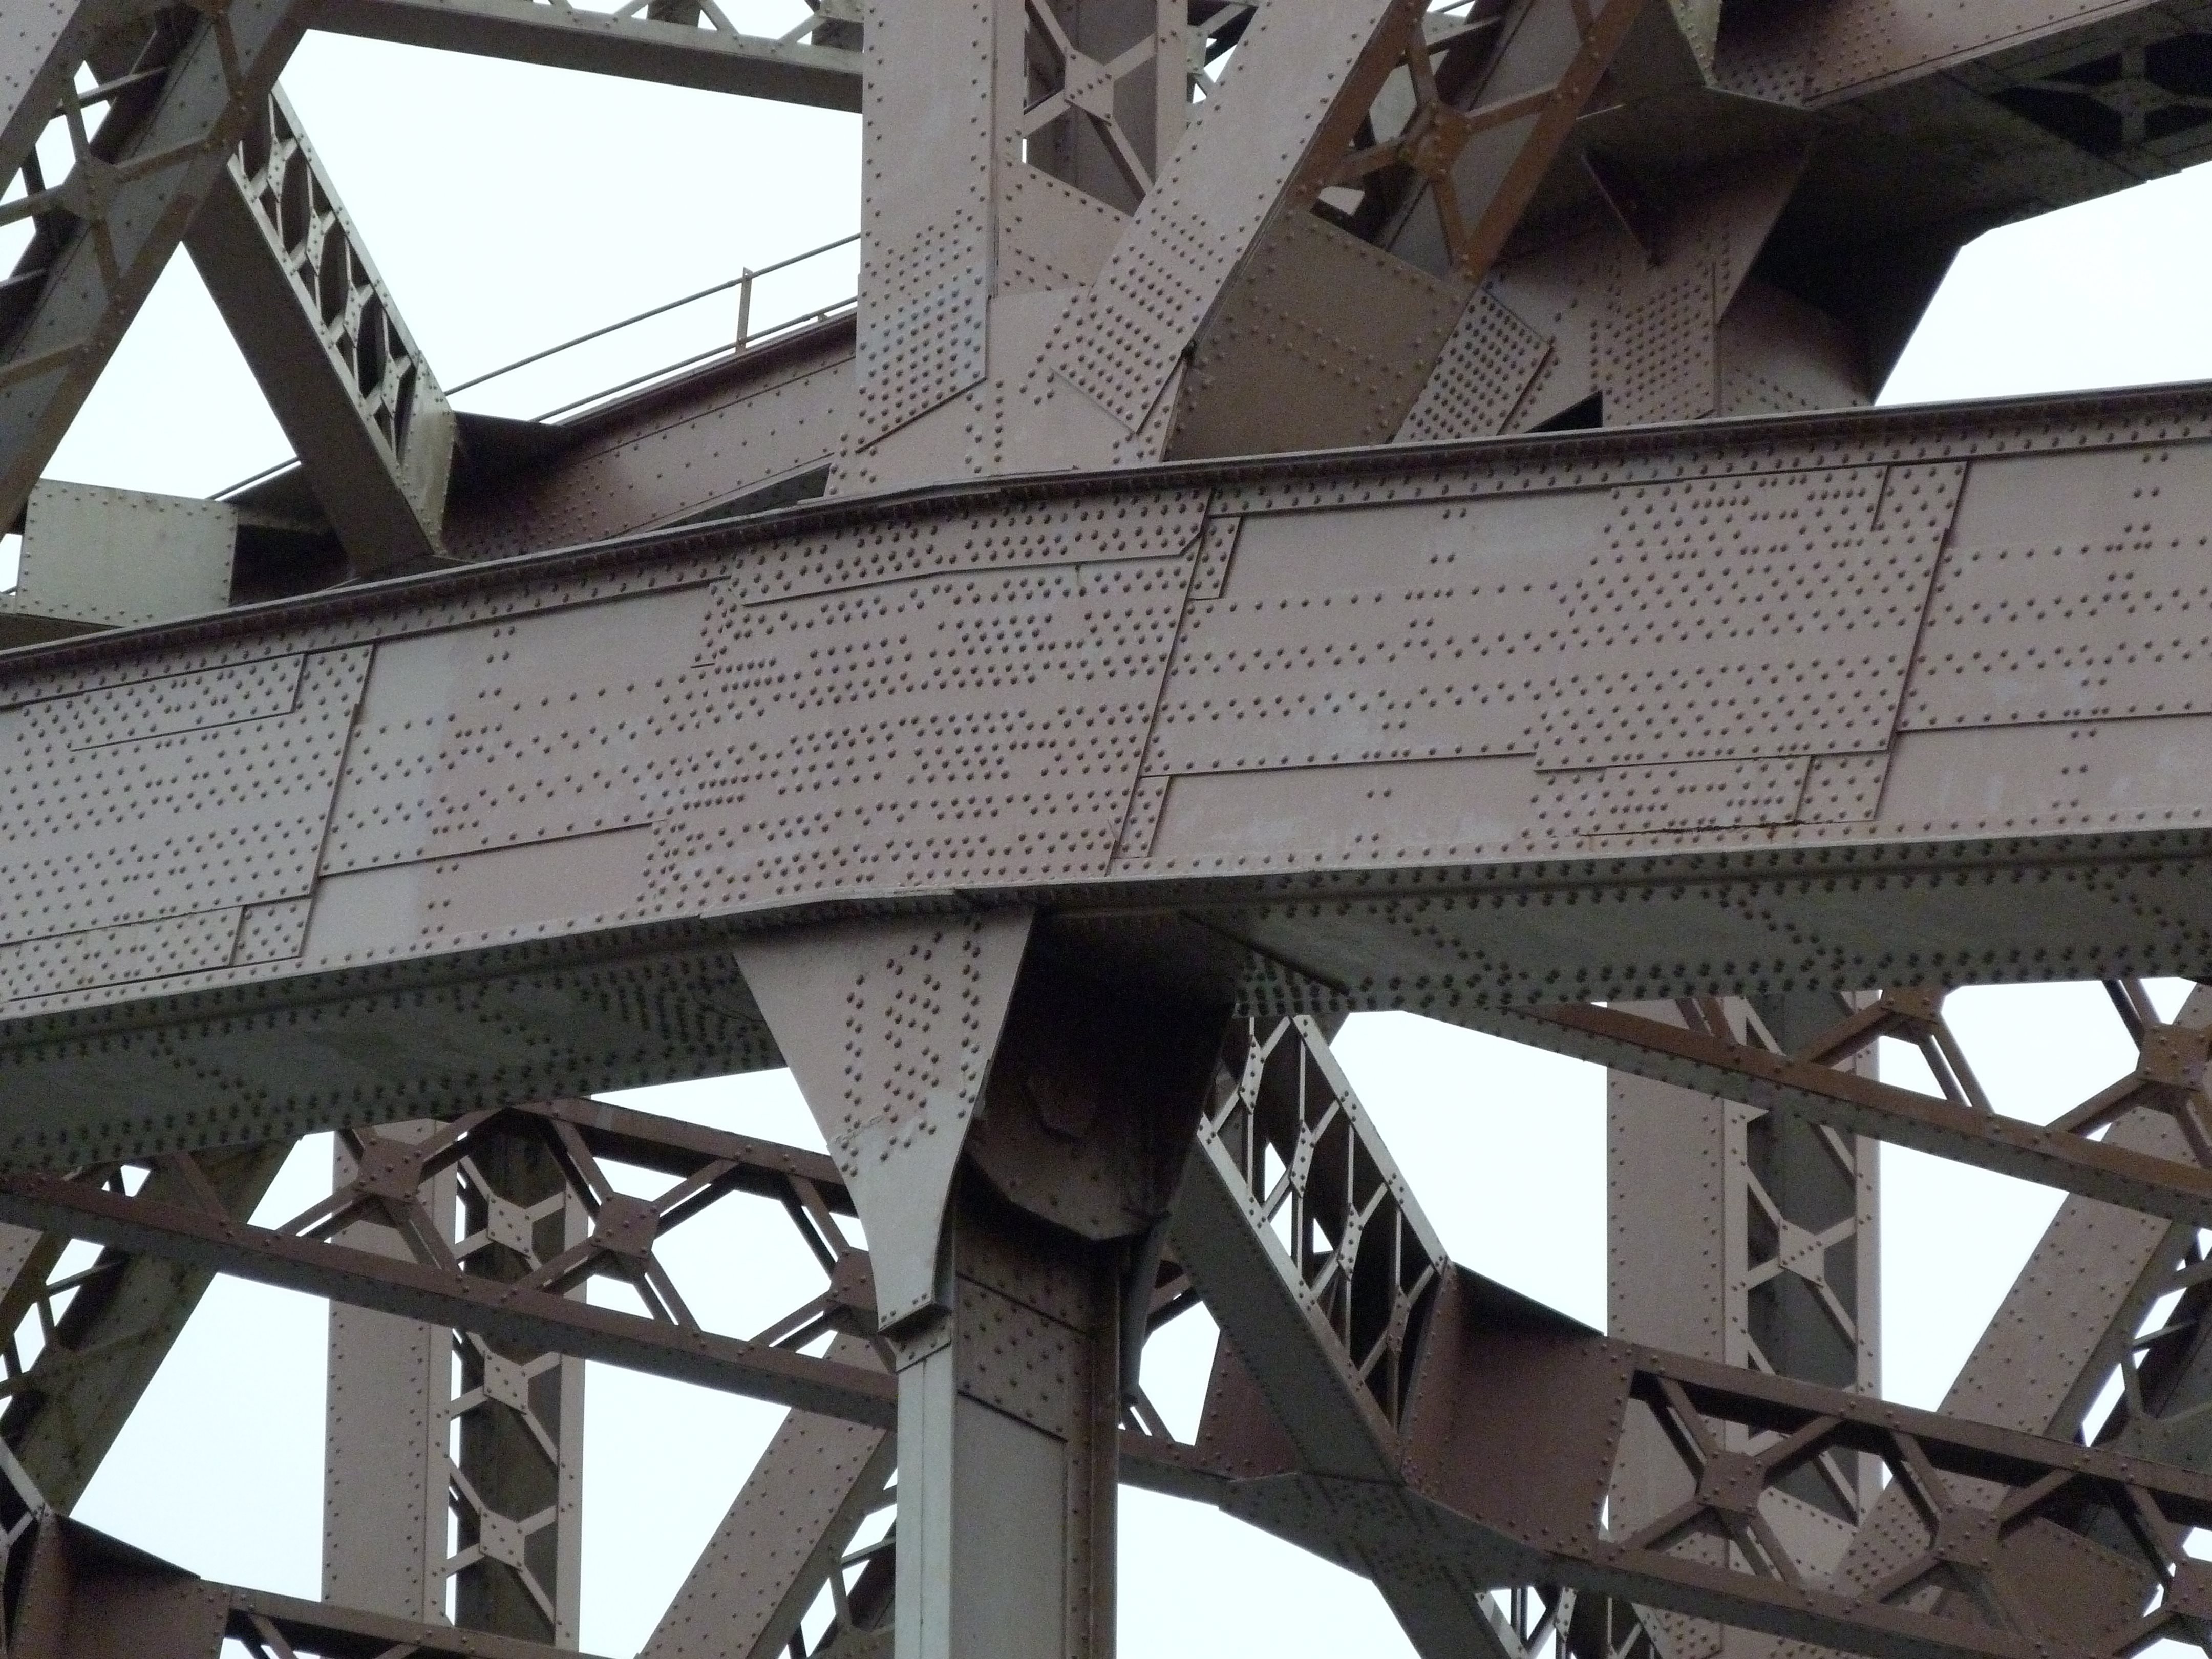
Top chord connections as viewed from beside bridge.
![]()


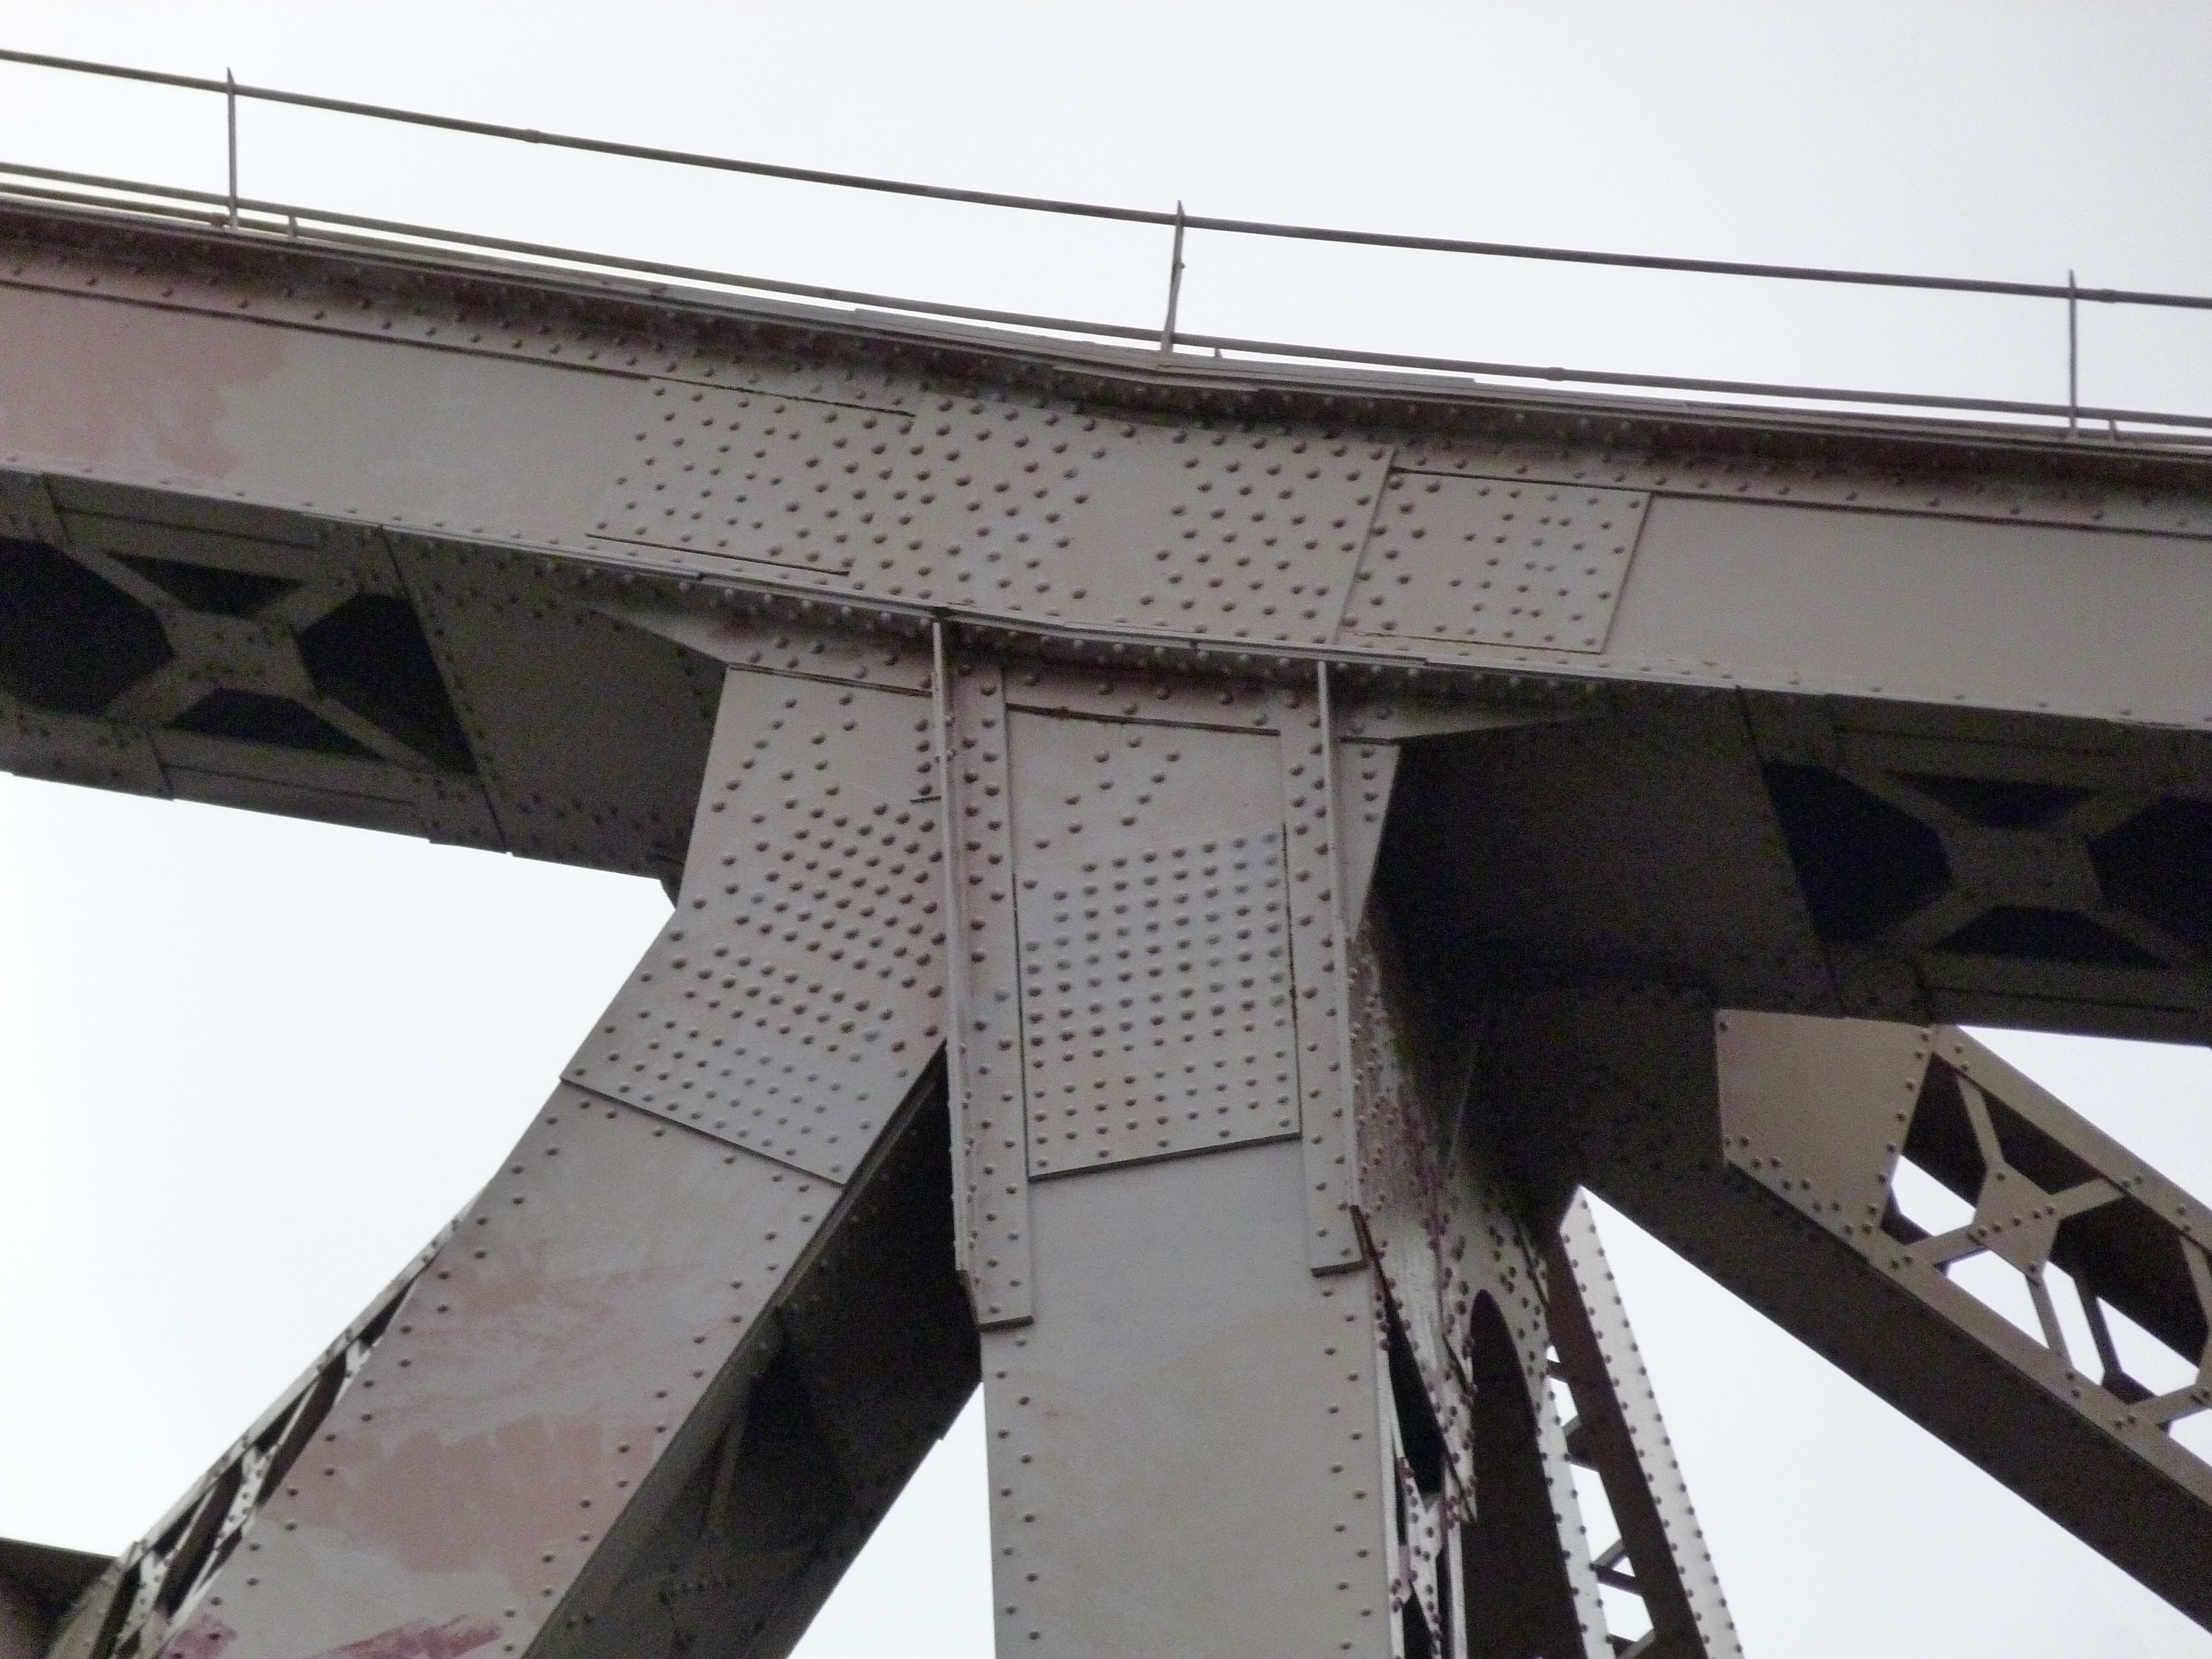
Bottom chord connections as viewed from beside bridge.
![]()


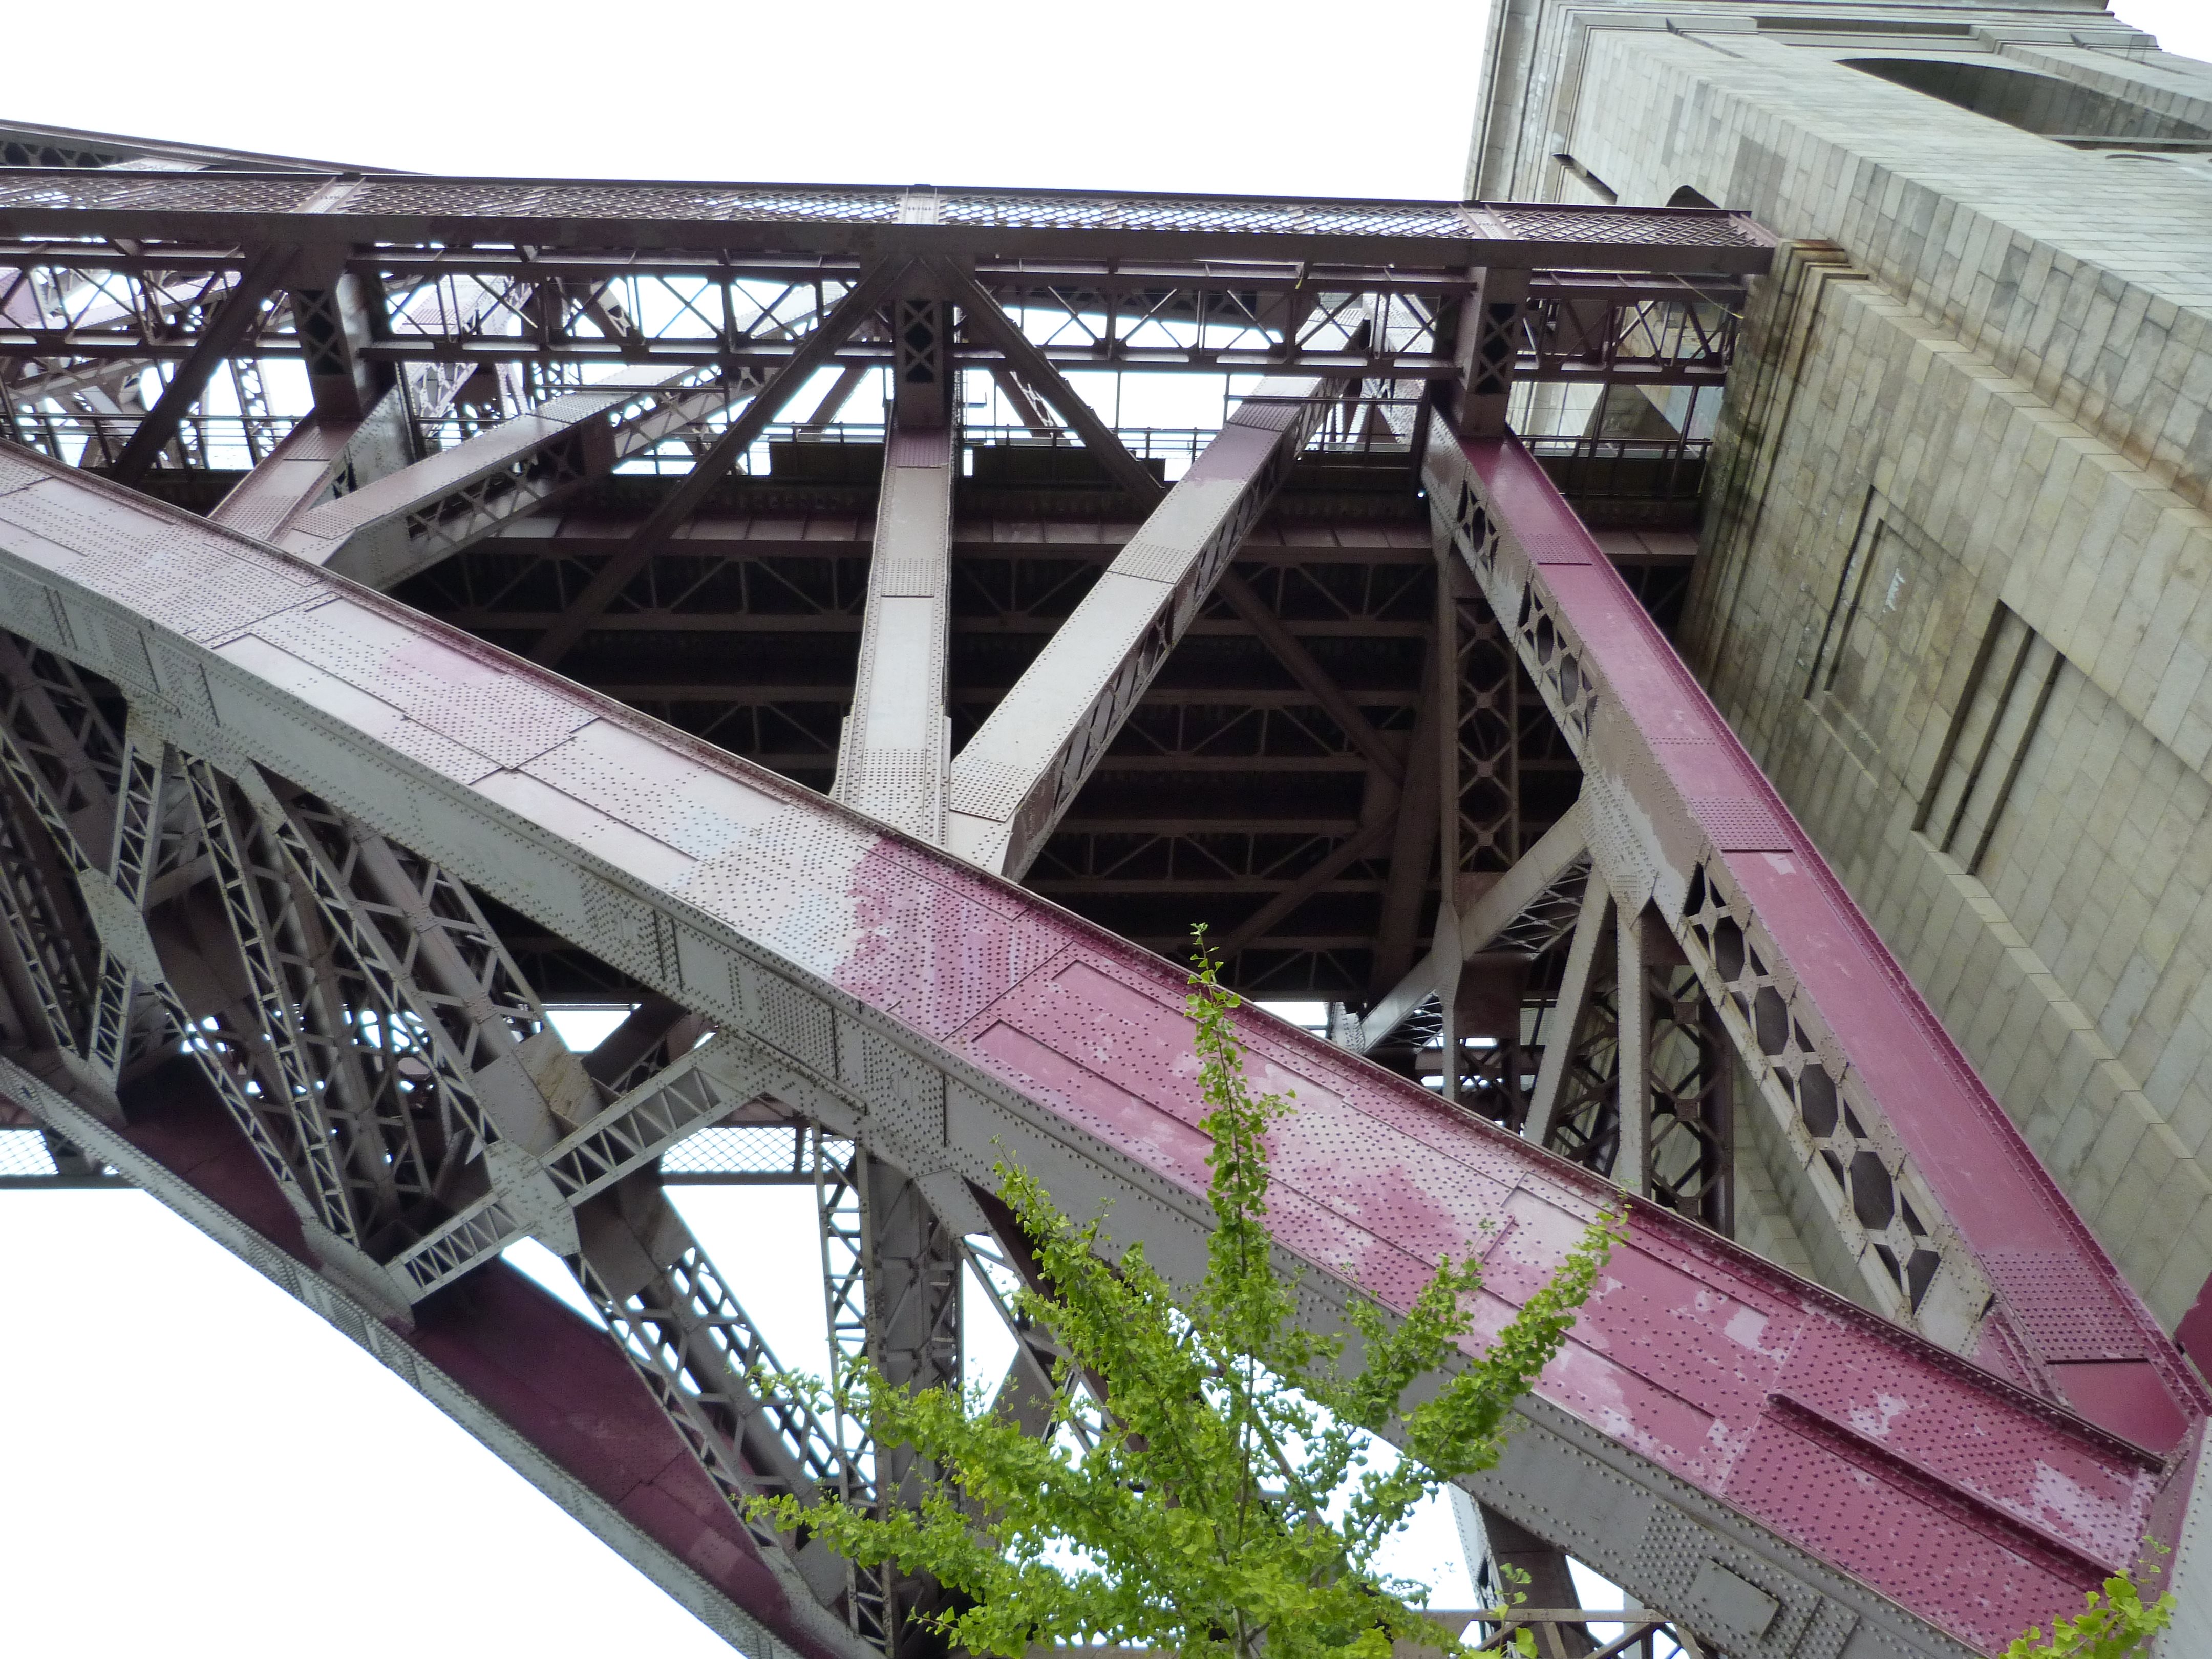
Views under bridge.
![]()
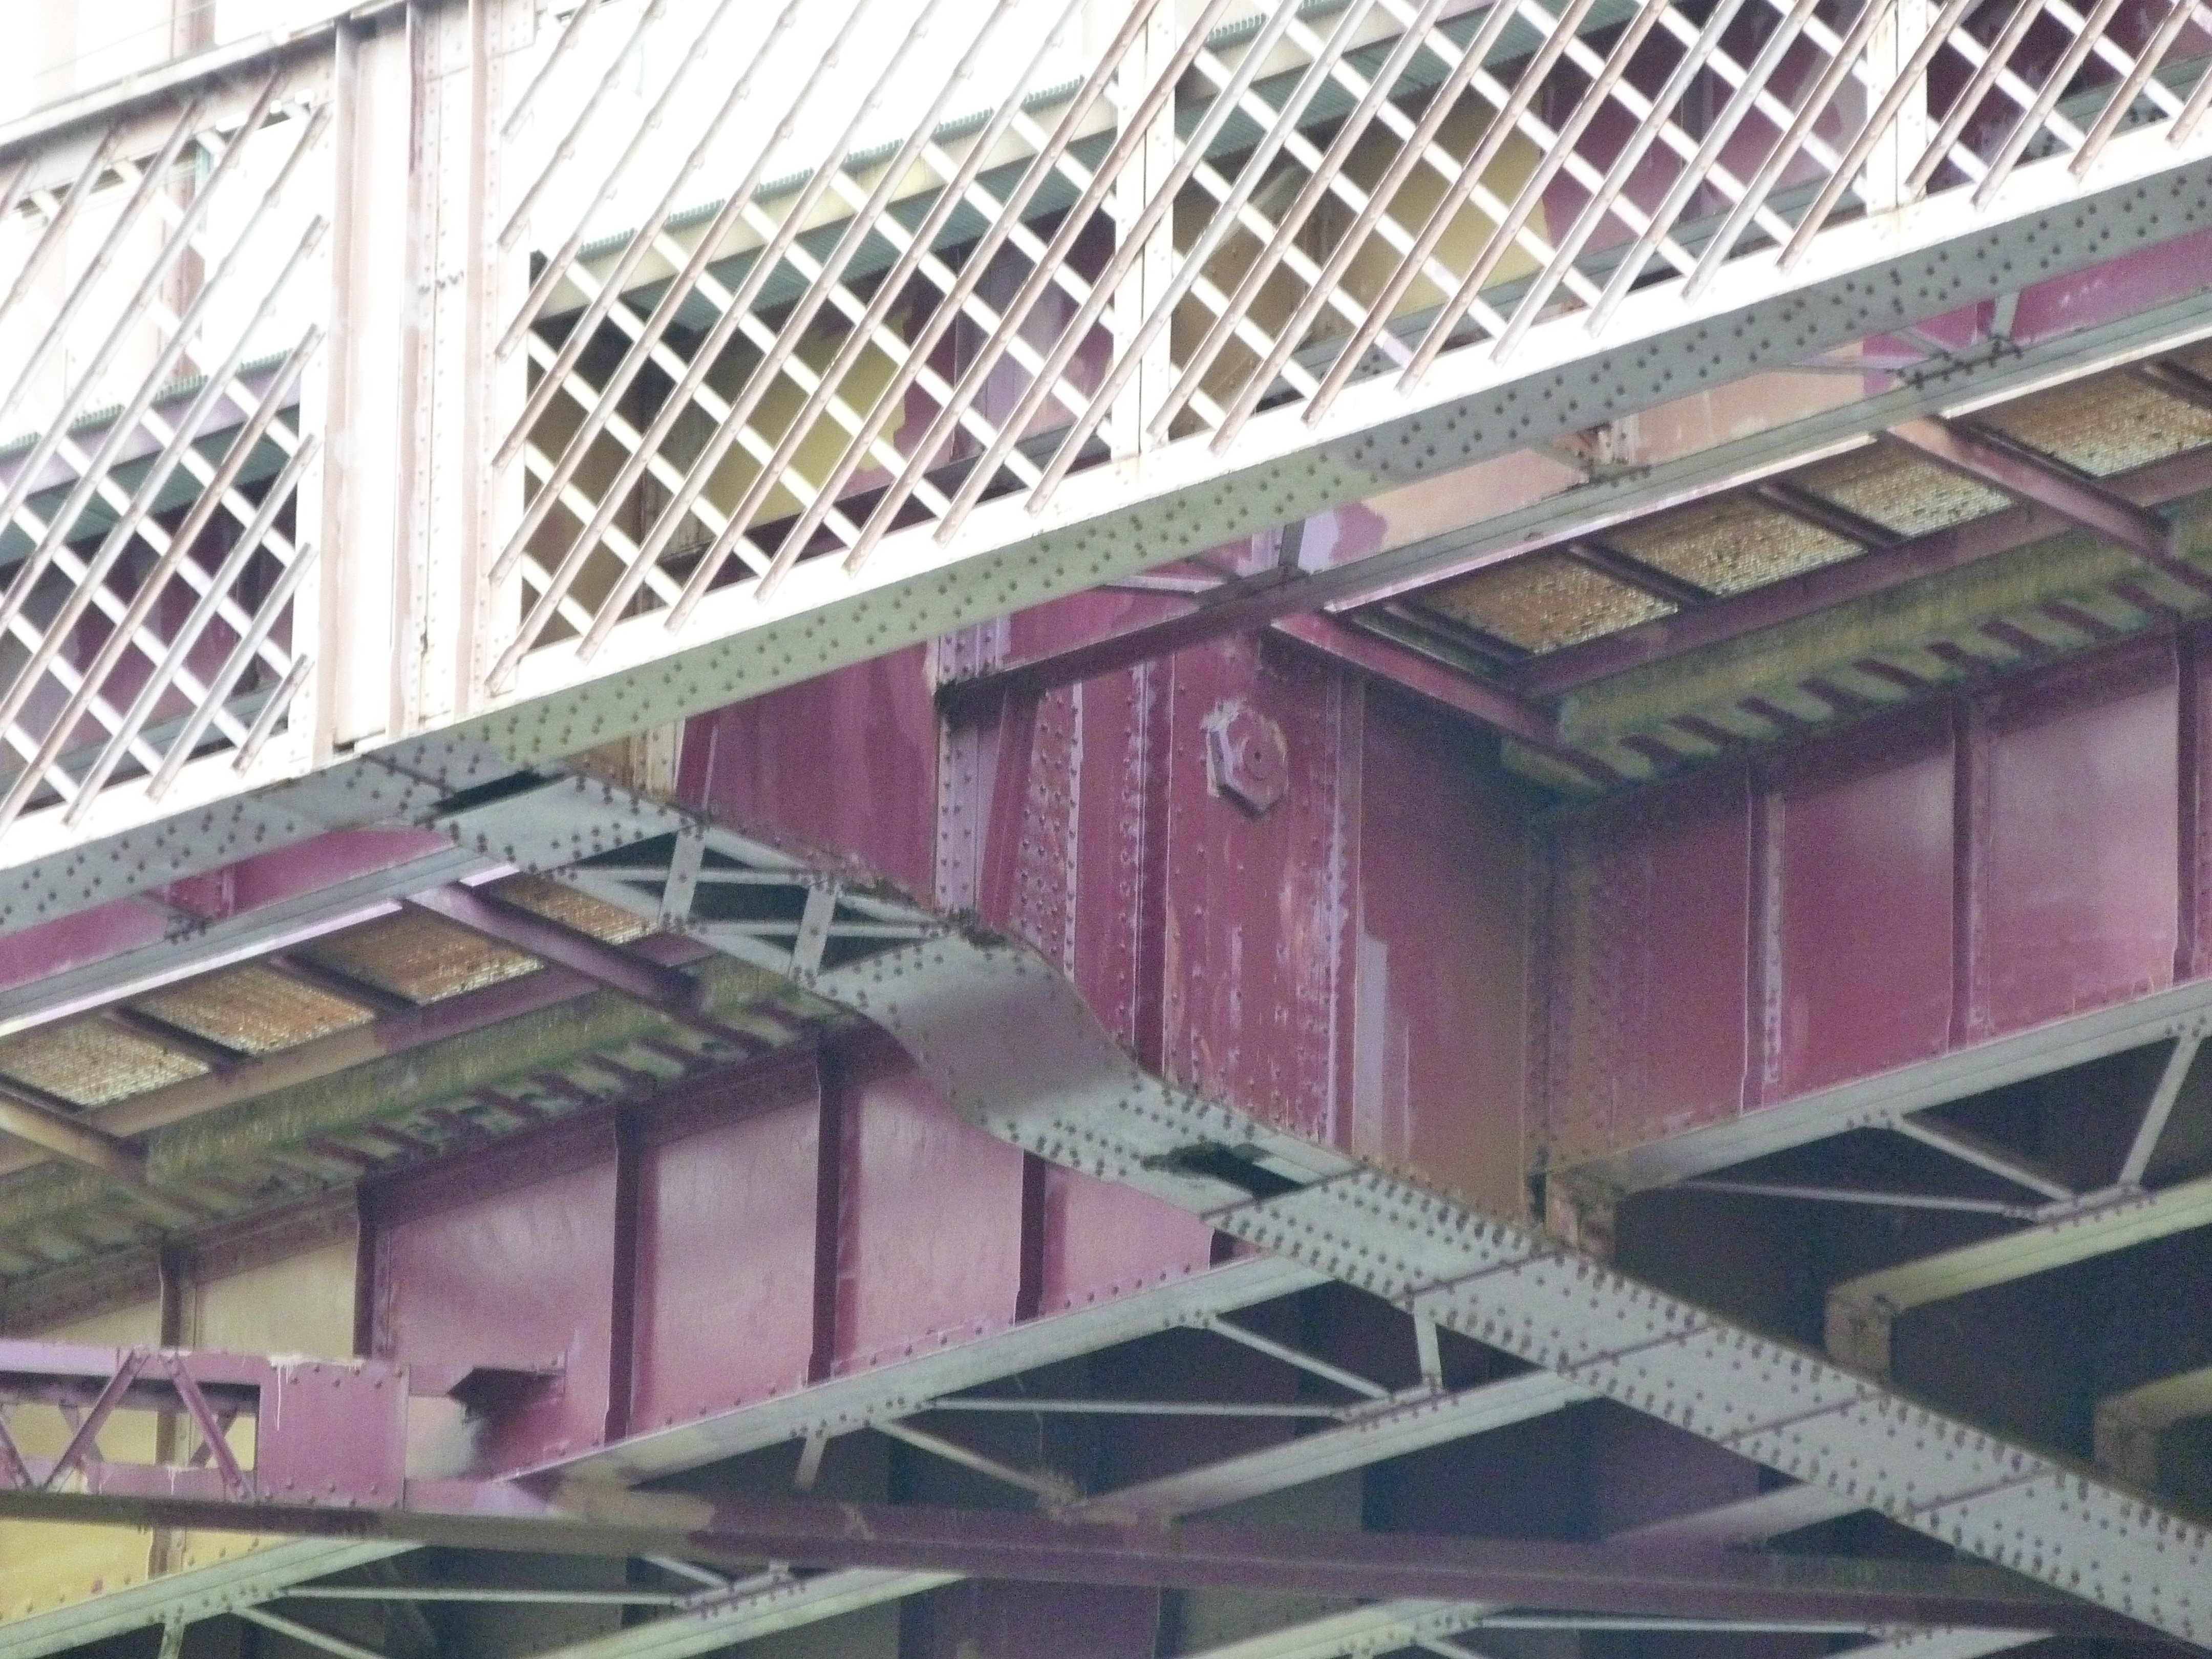
Floor beam.
![]()


Railing.
![]()


Bottom chord.
![]()

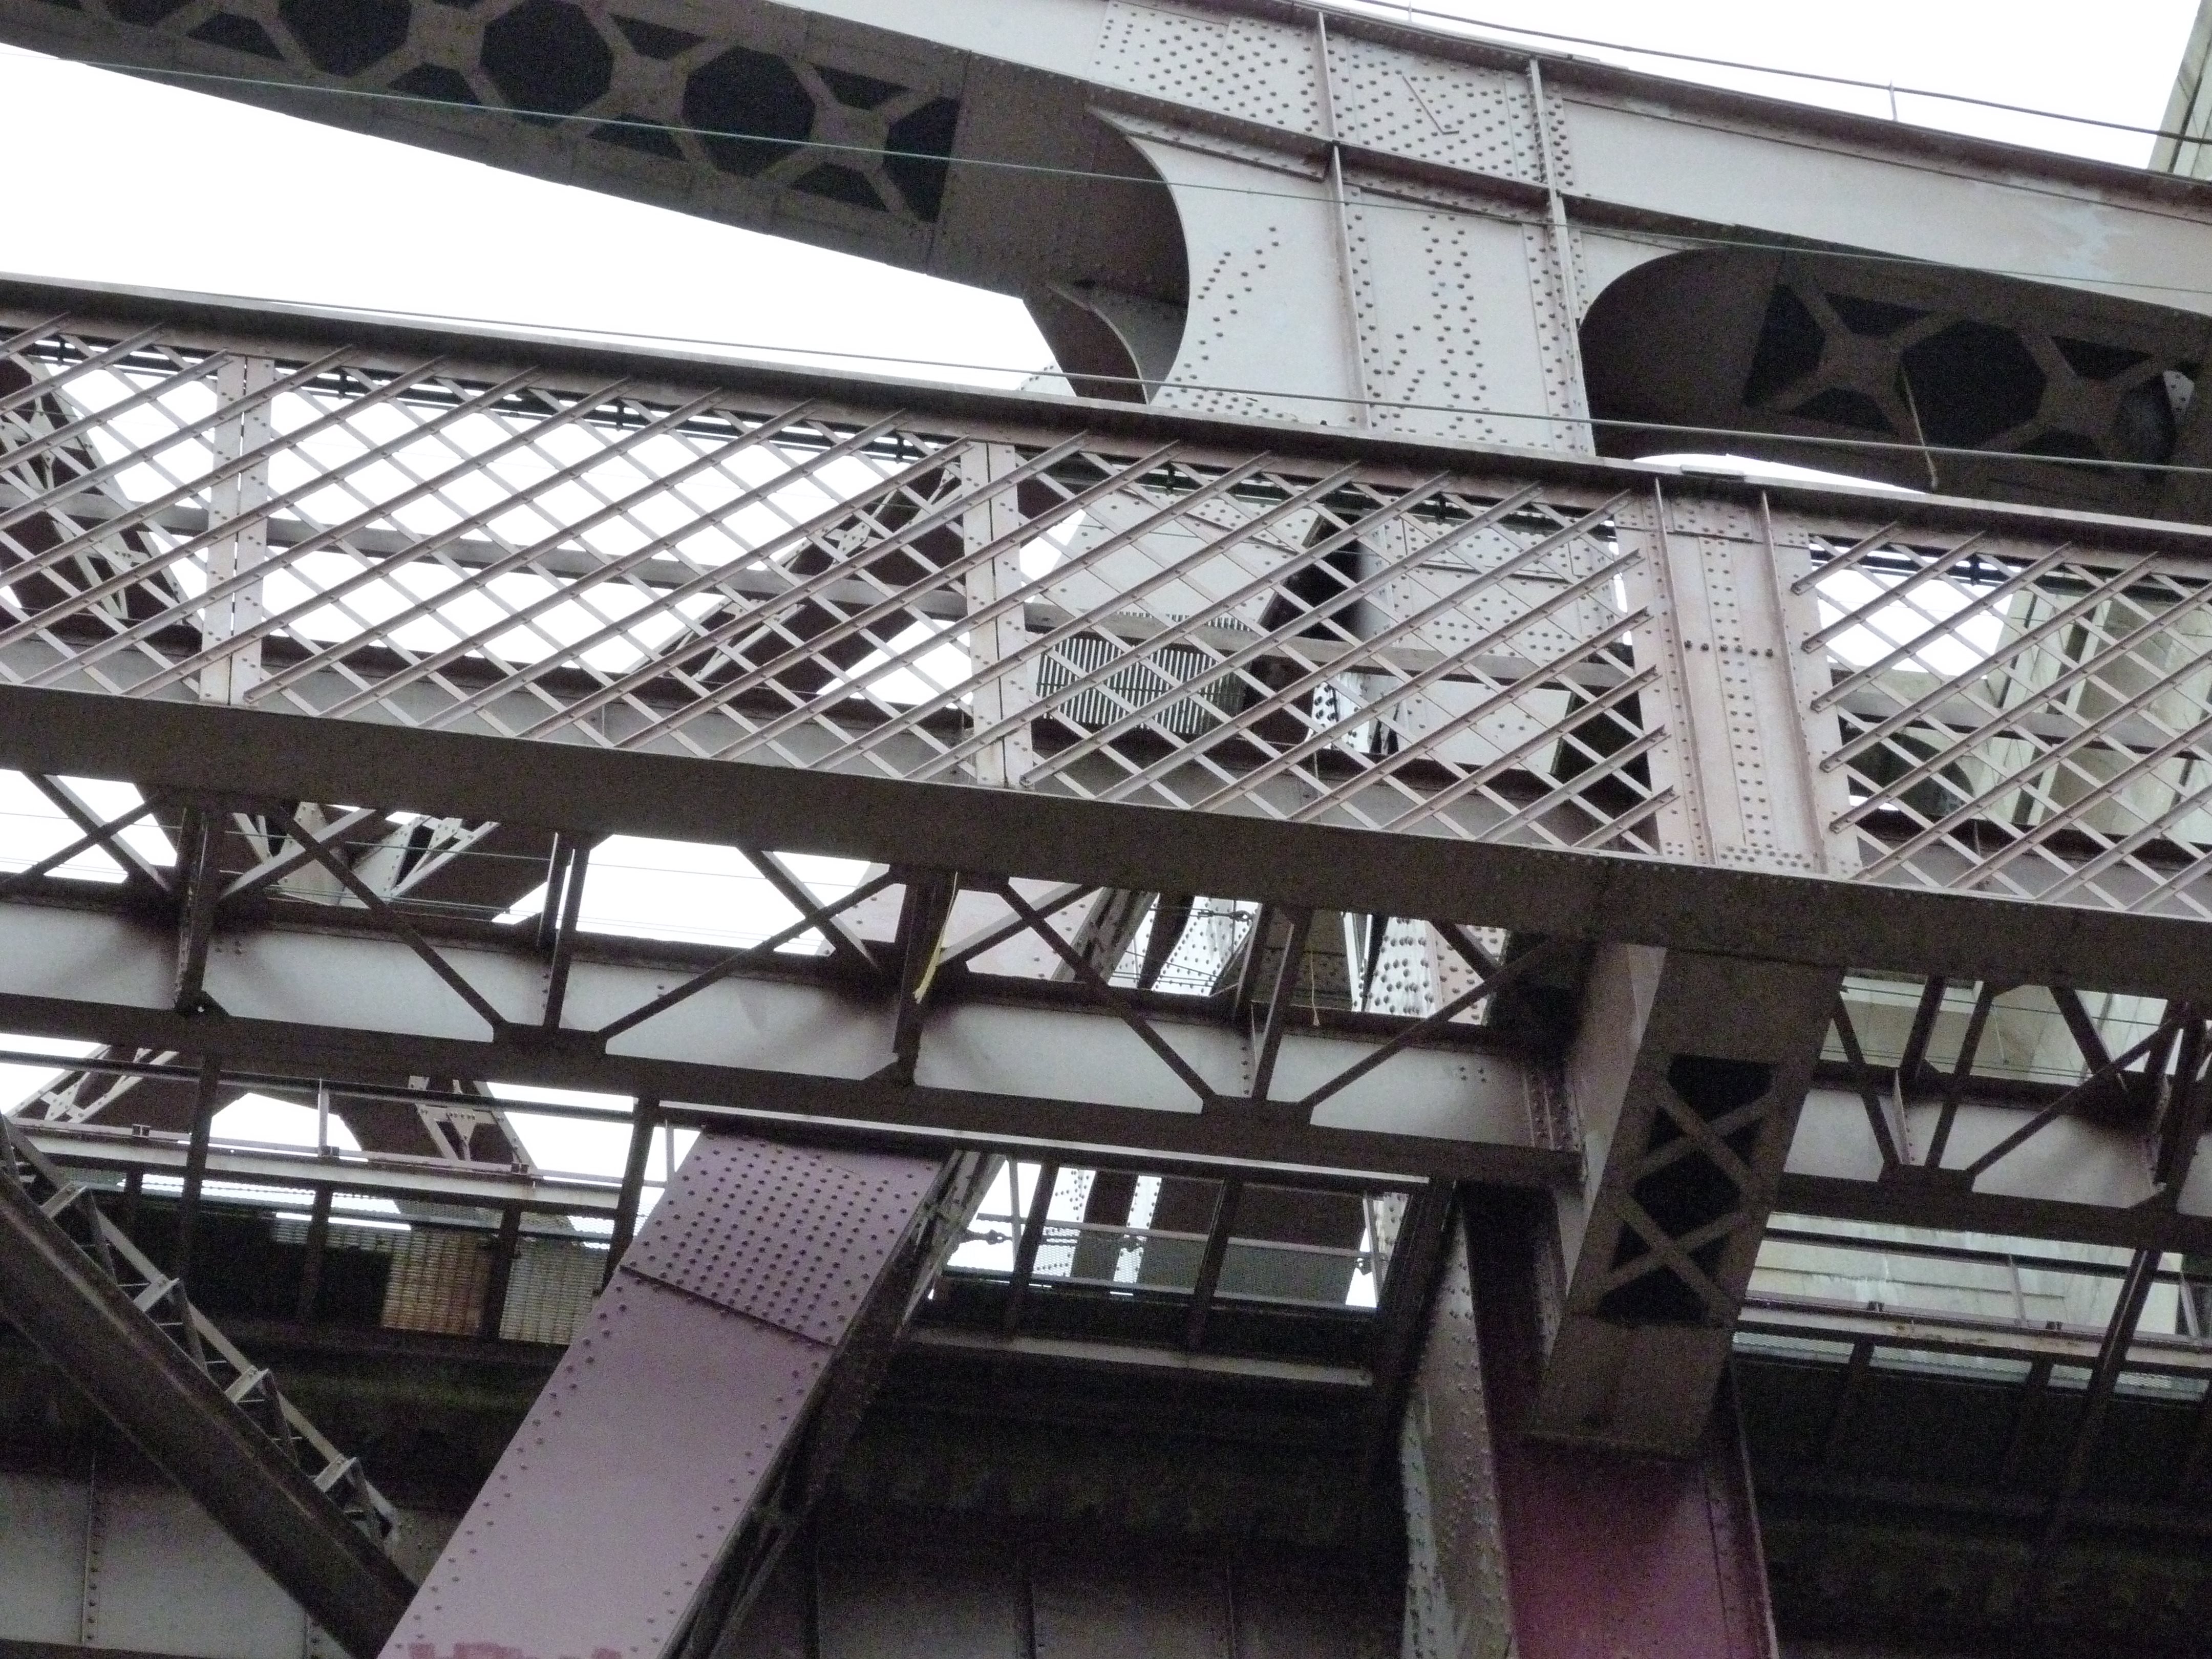
Bracing.
![]()
![]()
| Back |
| Home |
| Top |

![]()